PRICE
$7500
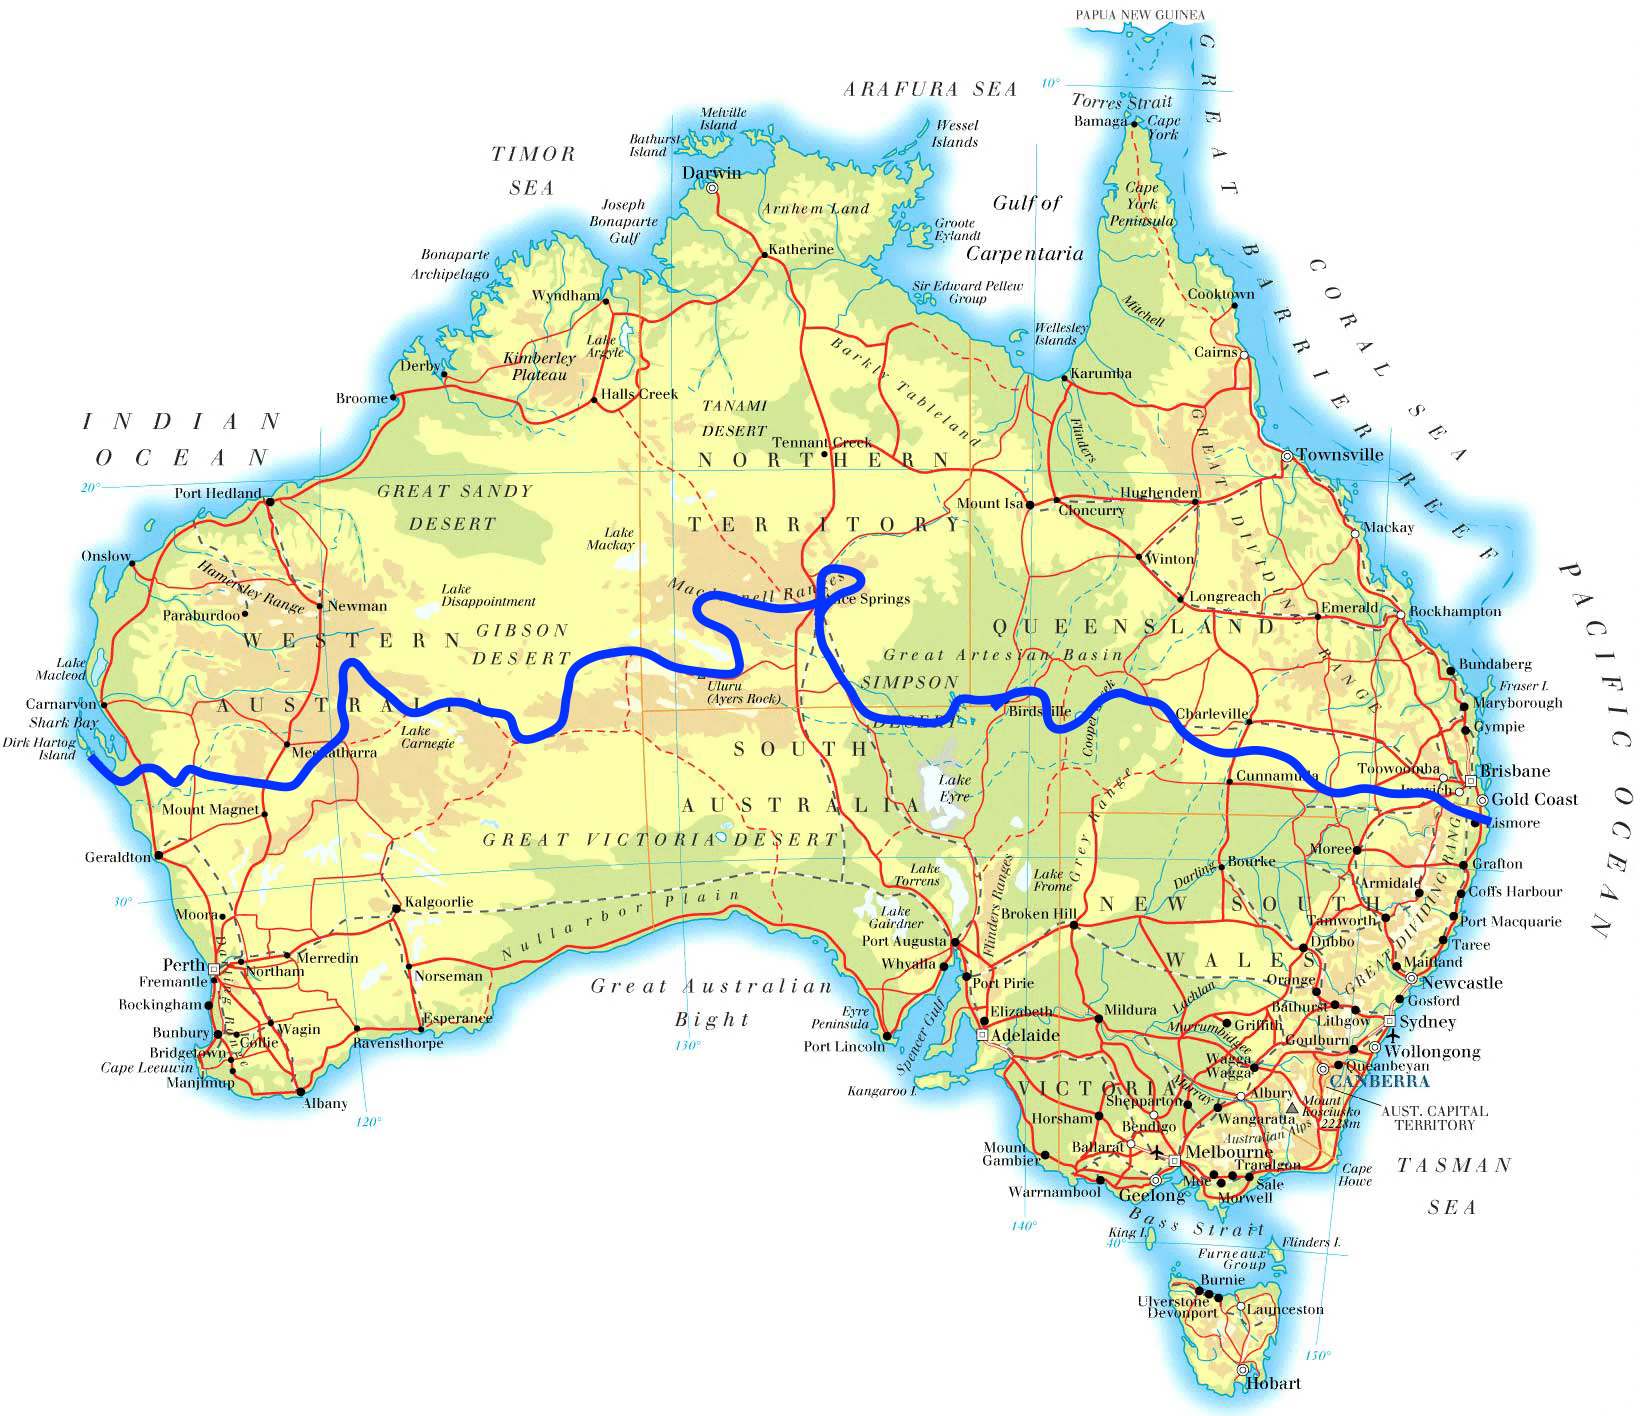


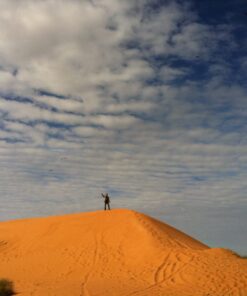
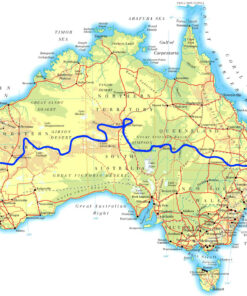

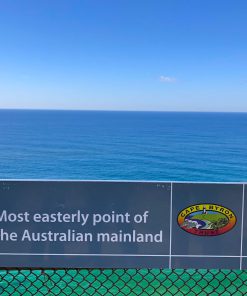


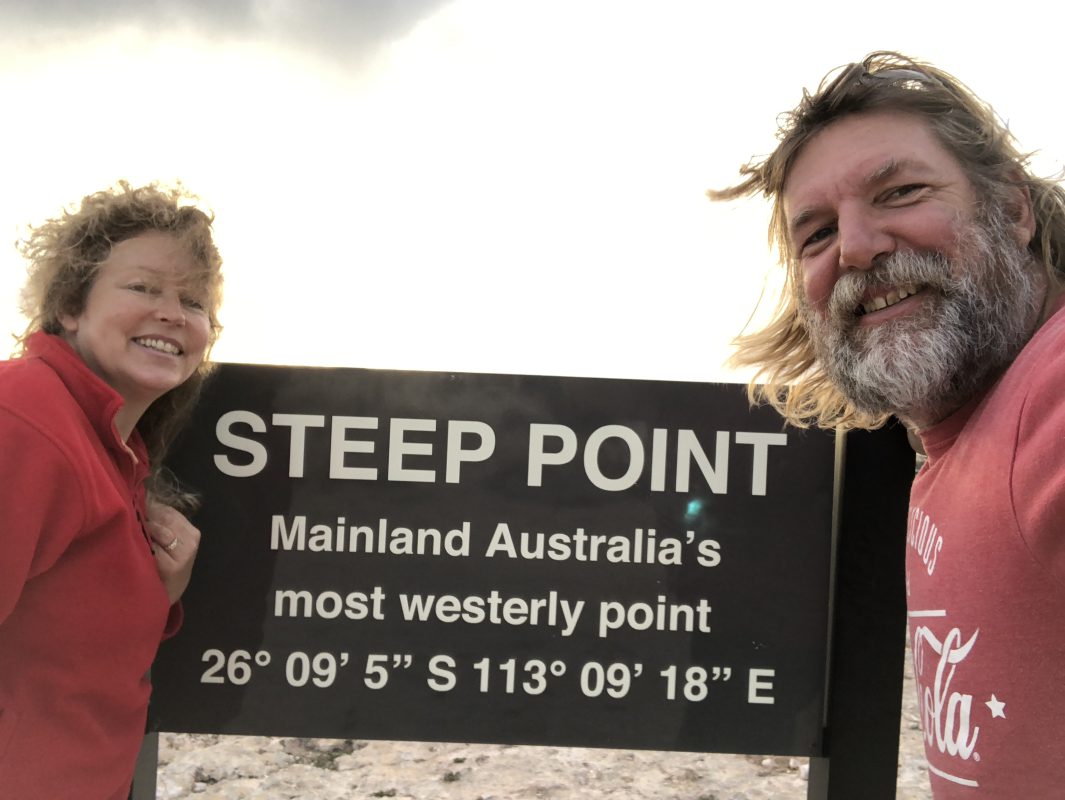
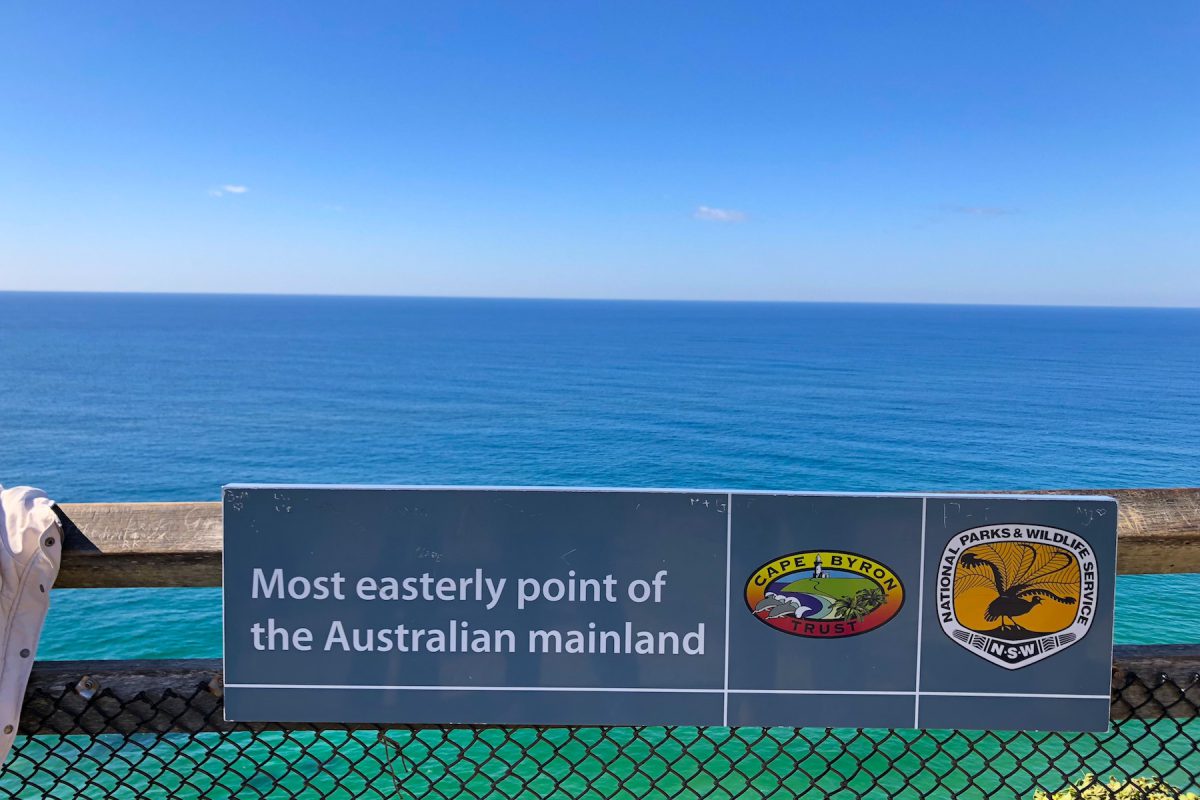
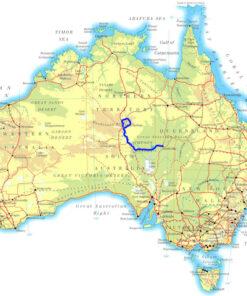
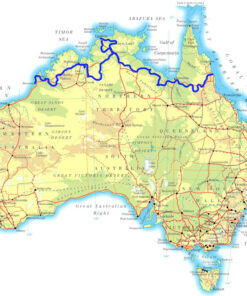
It’s hard to believe this will be our 50th crossing of Australia. When we first made the journey in 1991, we never imagined that 36 years later we’d be doing it for the 50th time. Join us for this amazing trip. This is one of the most incredible 4WD tours we offer—coast to coast across the continent by four-wheel drive. Leaving from the westernmost point of Australia at Steep Point, we head off off on the adventure of a lifetime, bound for the easternmost point in Byron Bay.
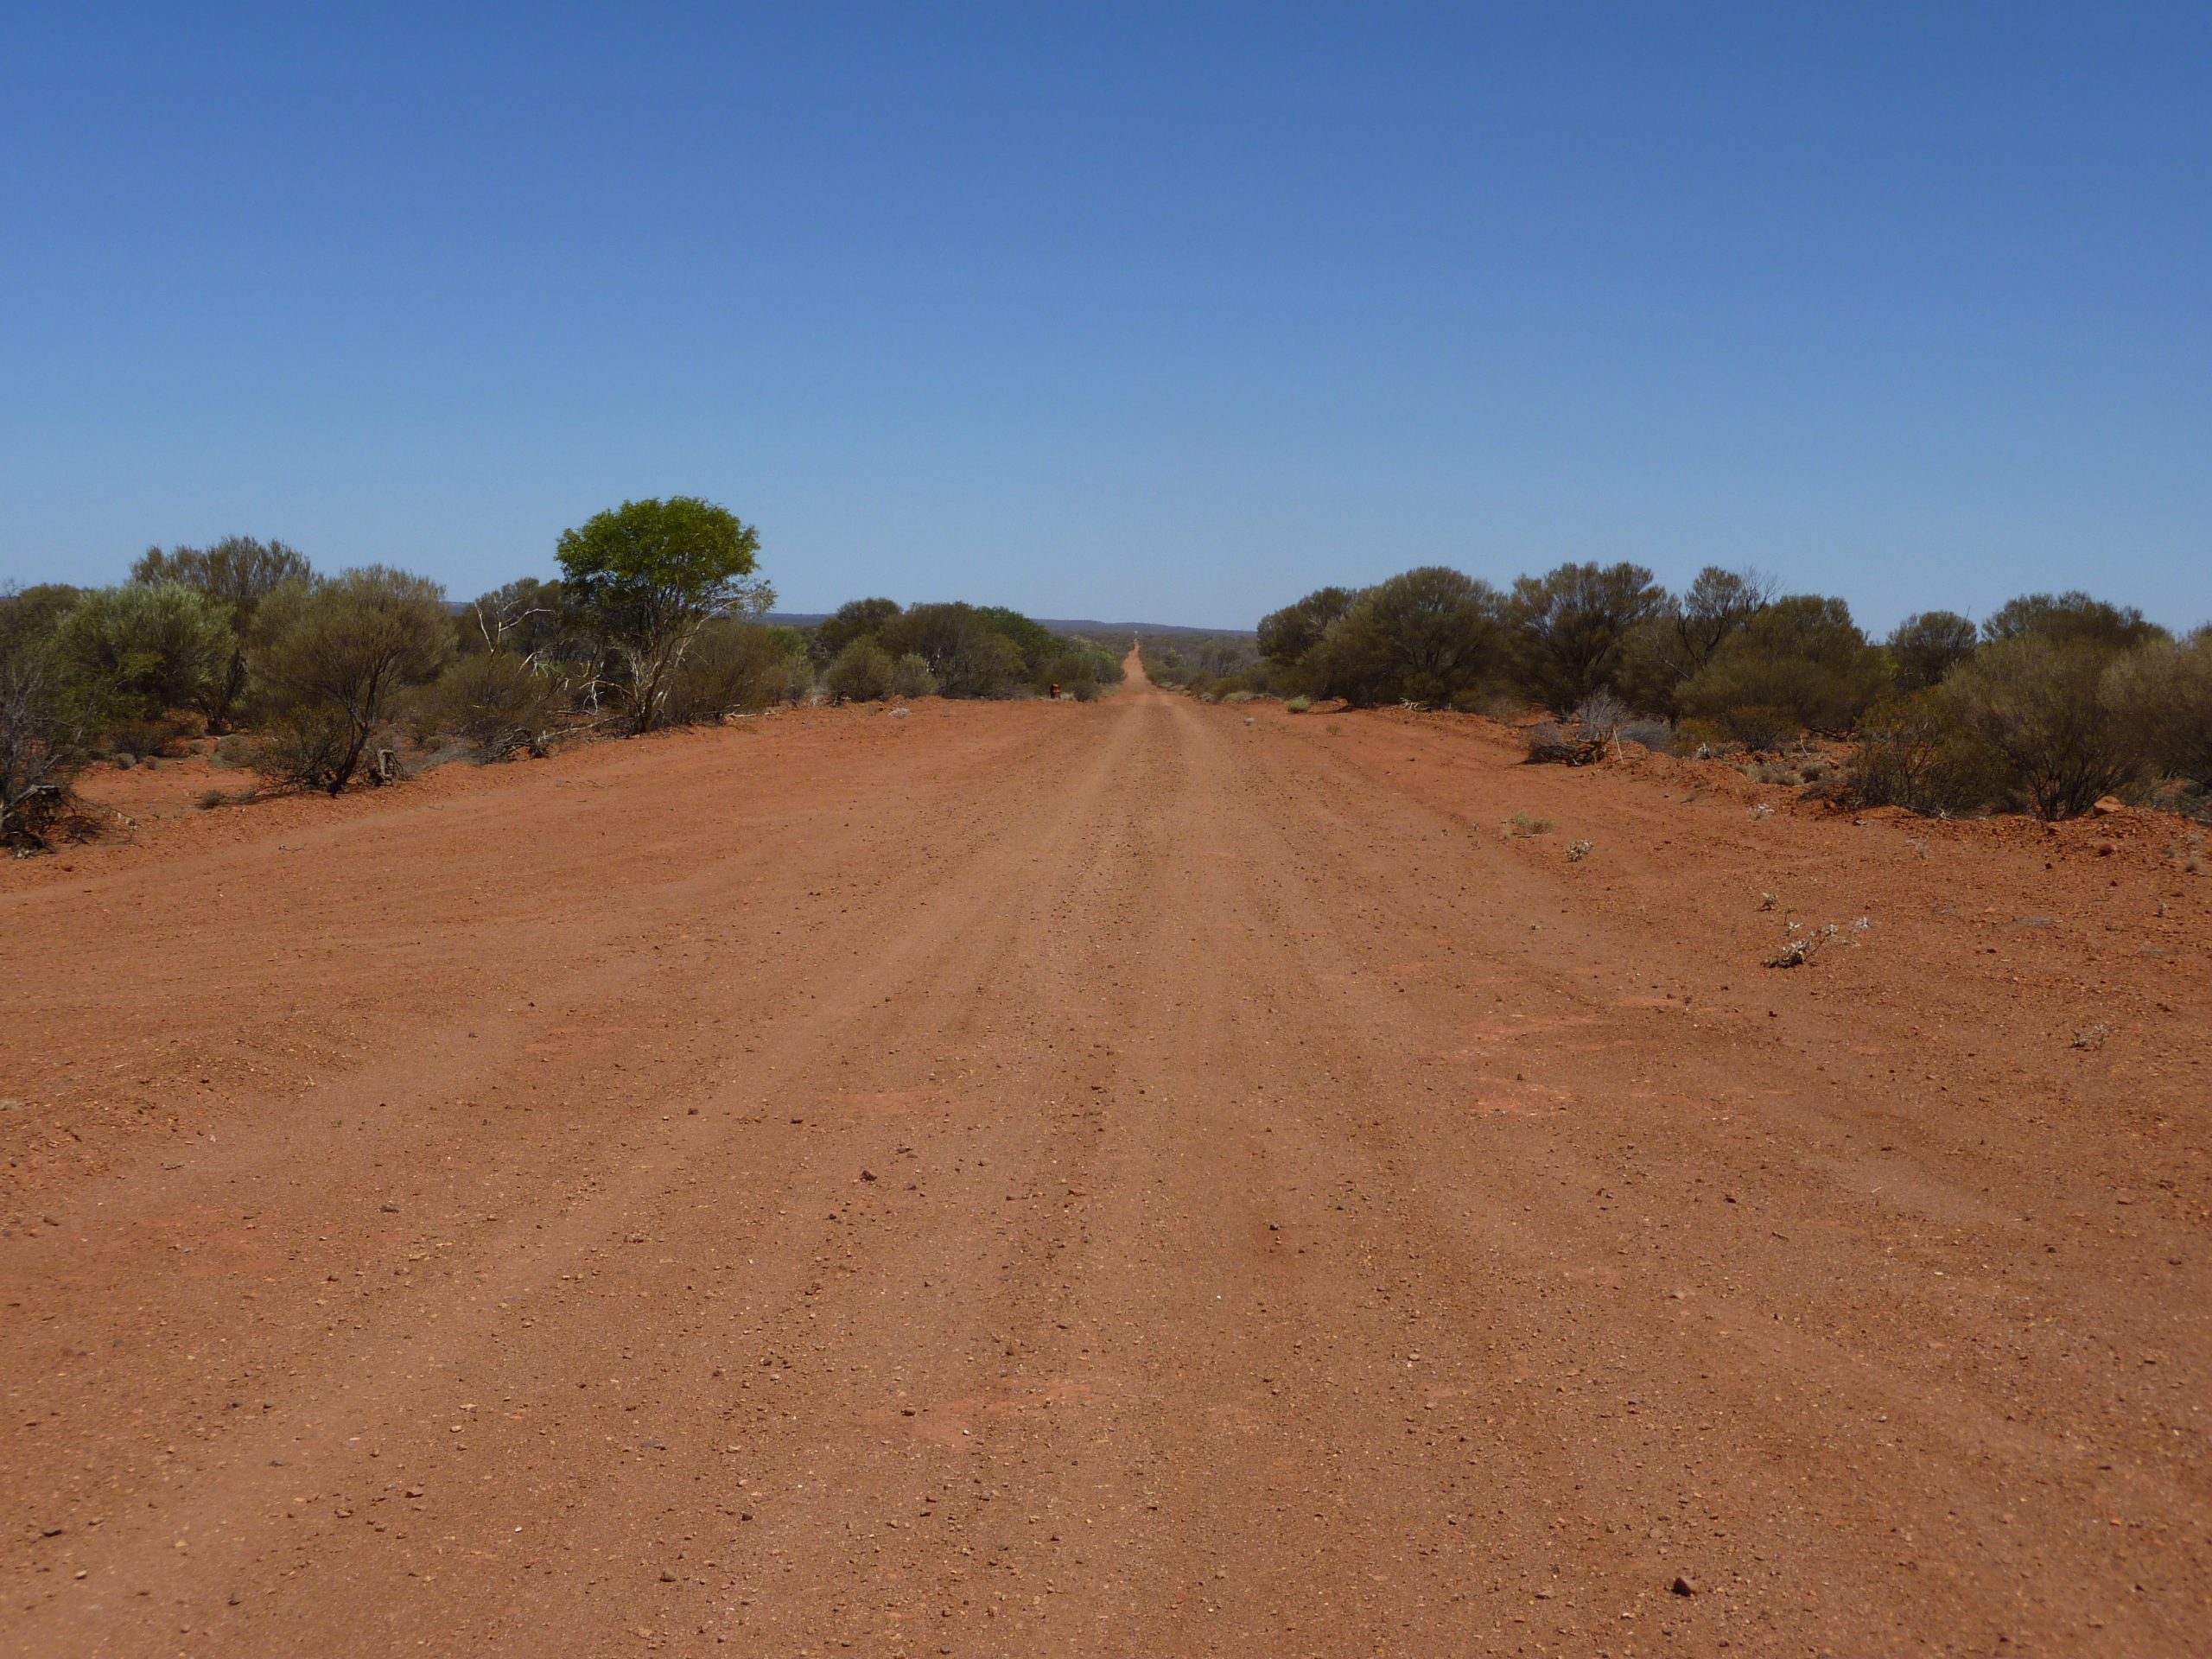
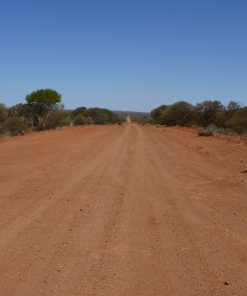
This trip is full of incredible scenery, awesome gravel roads and winding tracks, desert crossings, bulldust holes and rugged outback towns!
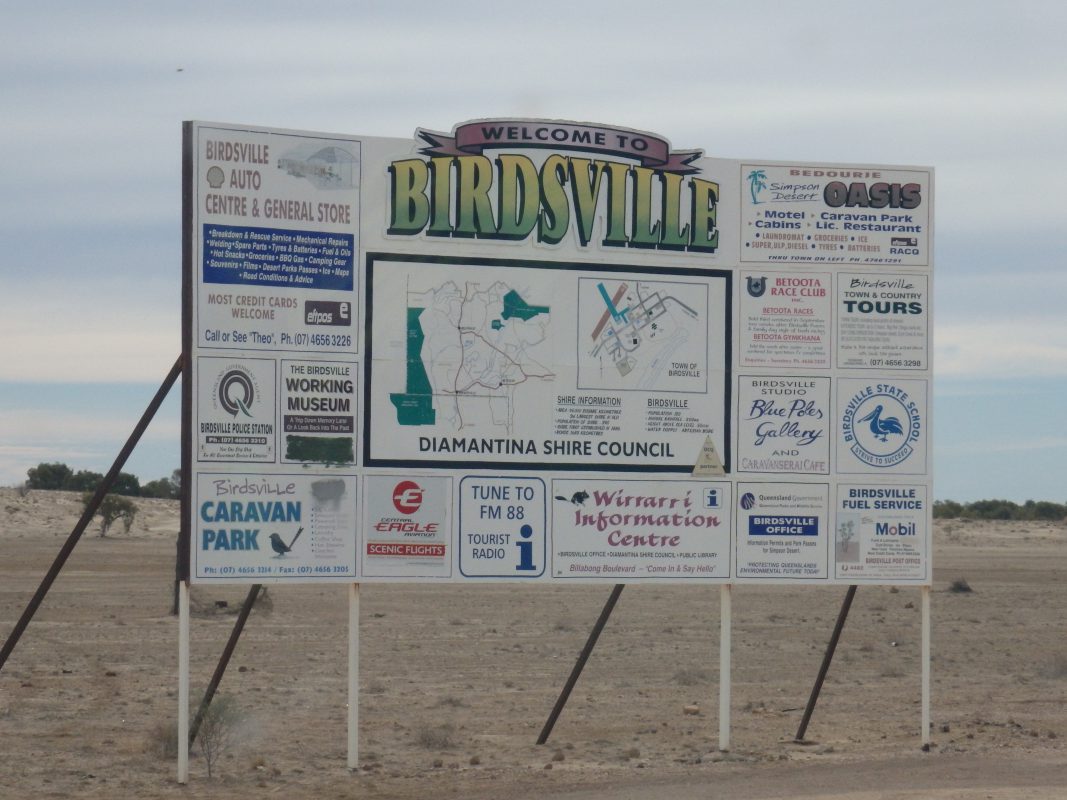
If you’ve got a sense of adventure and crave bragging rights that last a lifetime, clear your calendar for this unforgettable Across Australia expedition. Discover the legendary Birdsville Pub, one of Australia’s most iconic outback drinking establishments! Have a flutter at the Birdsville Races. Drive your 4WD across the Simpson, Great Victoria, Gibson and Little Sandy Deserts all in the same week.
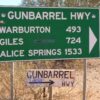
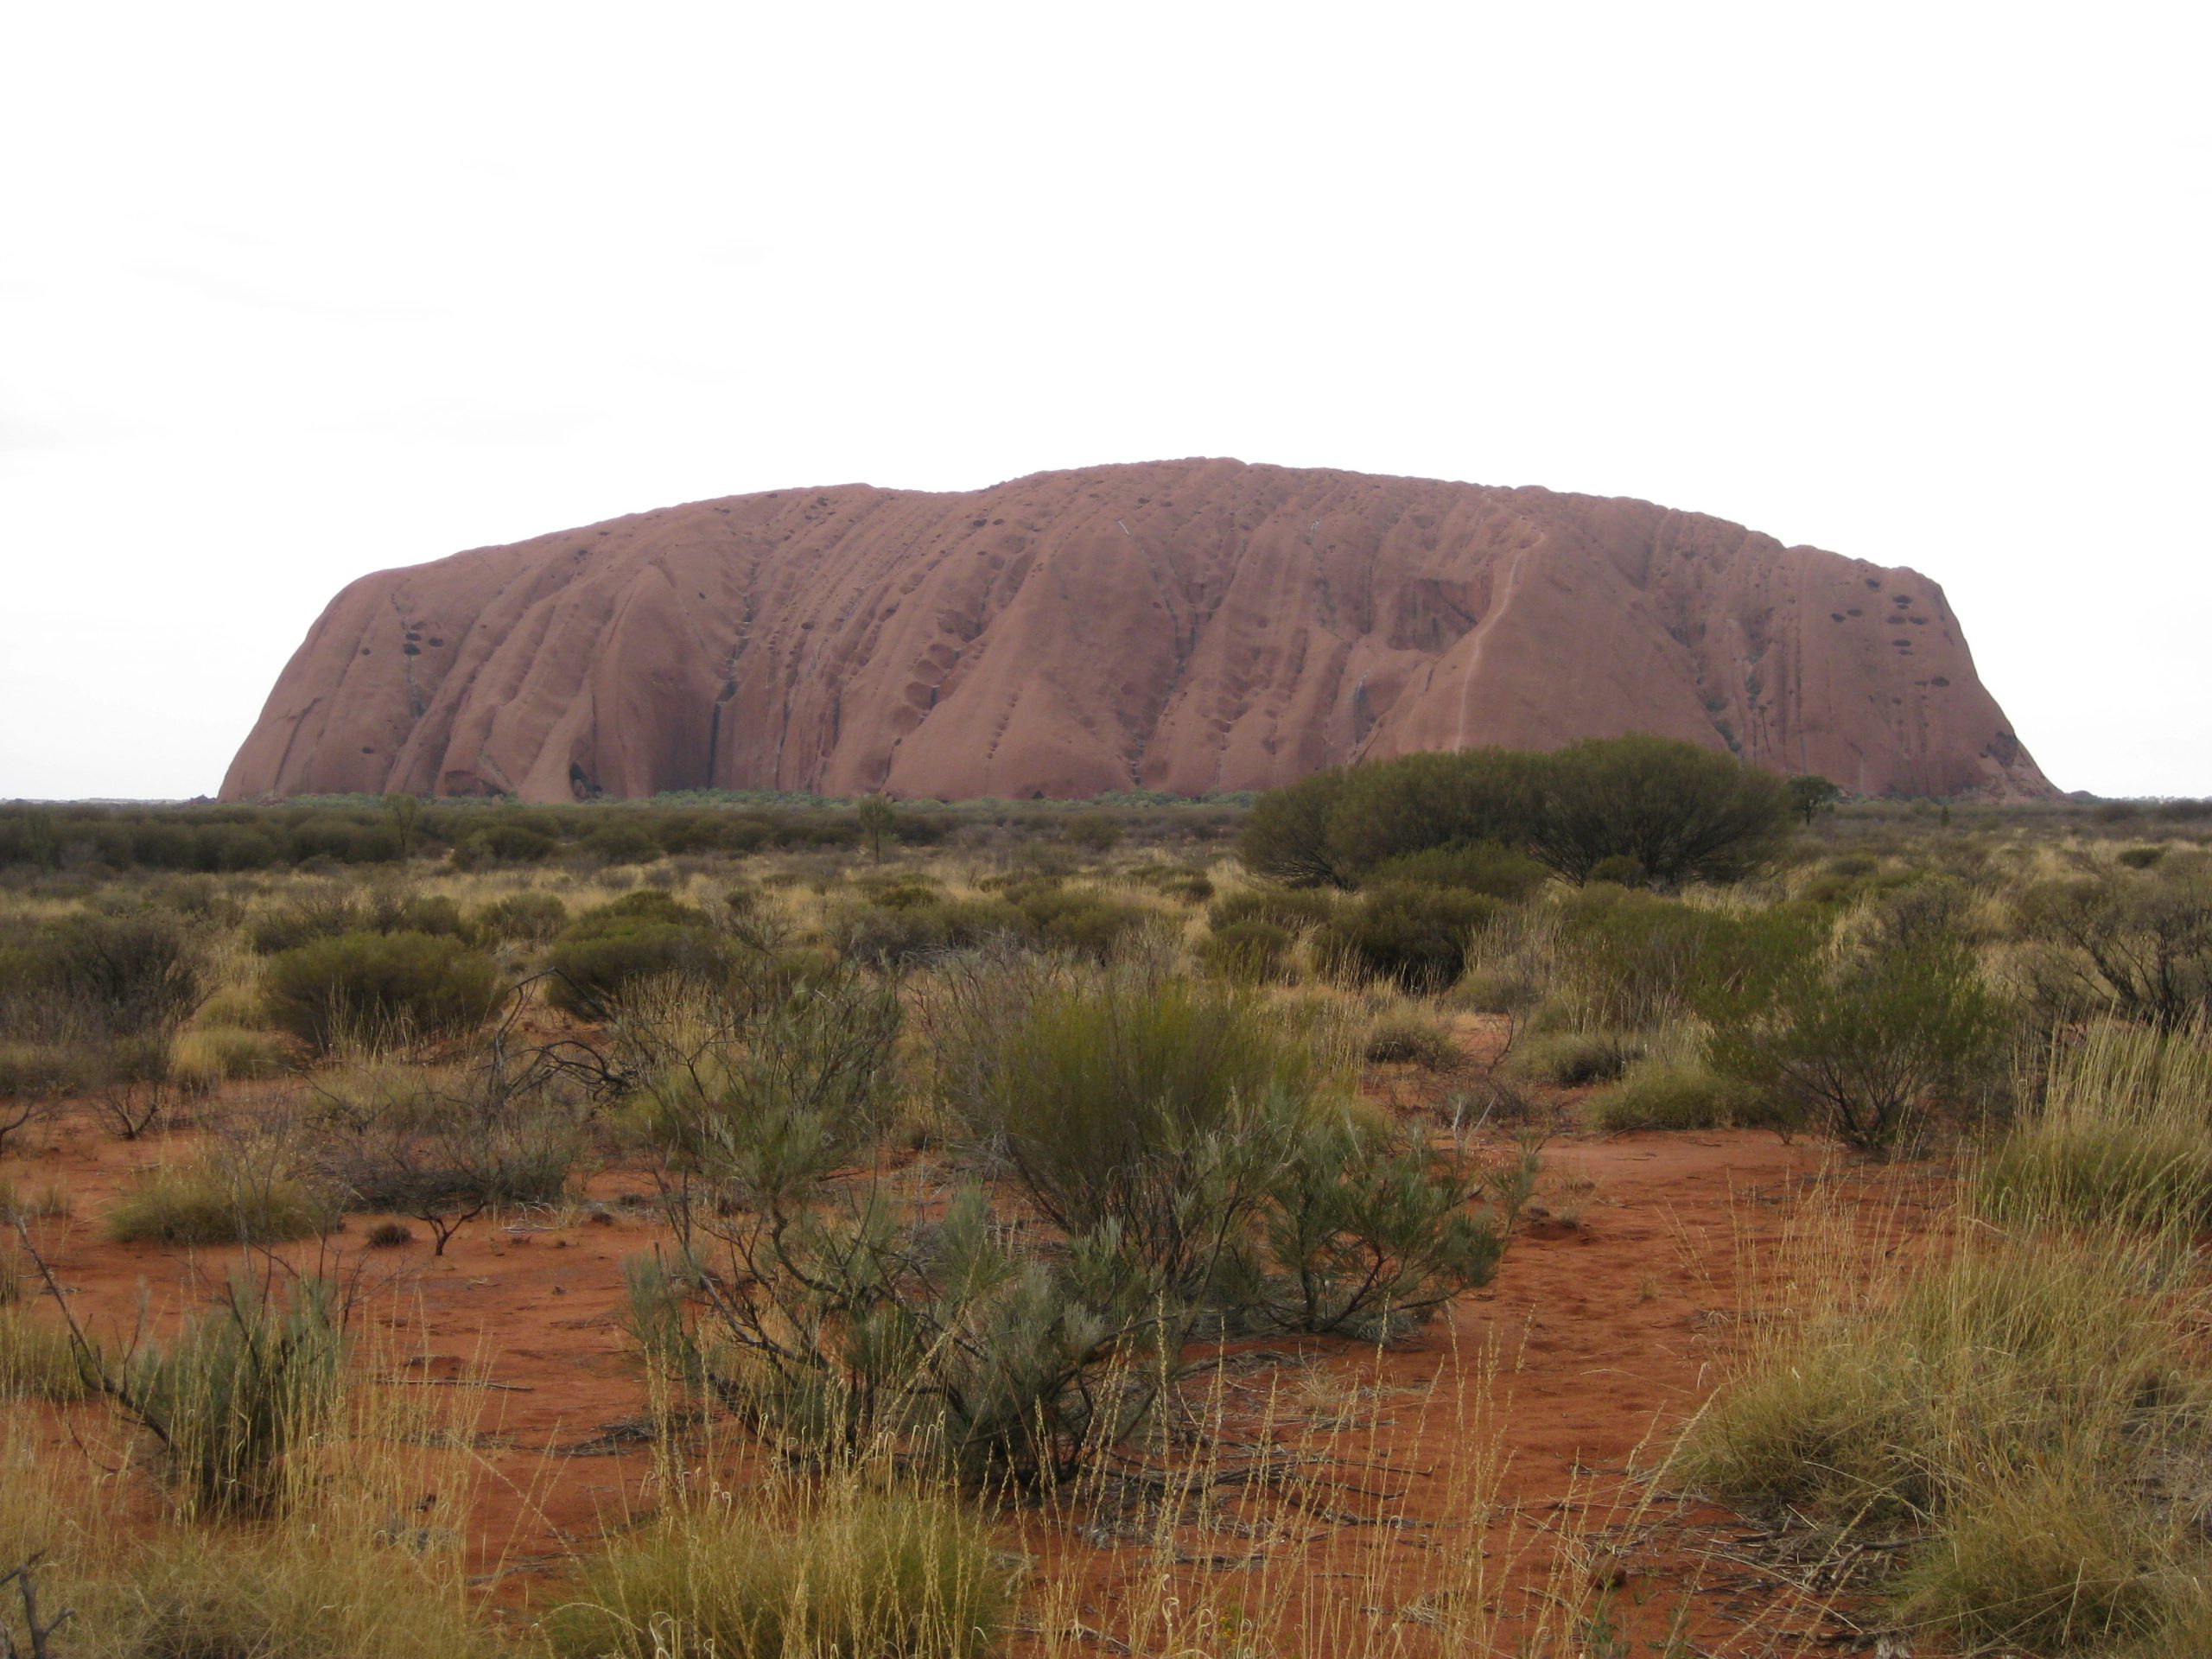
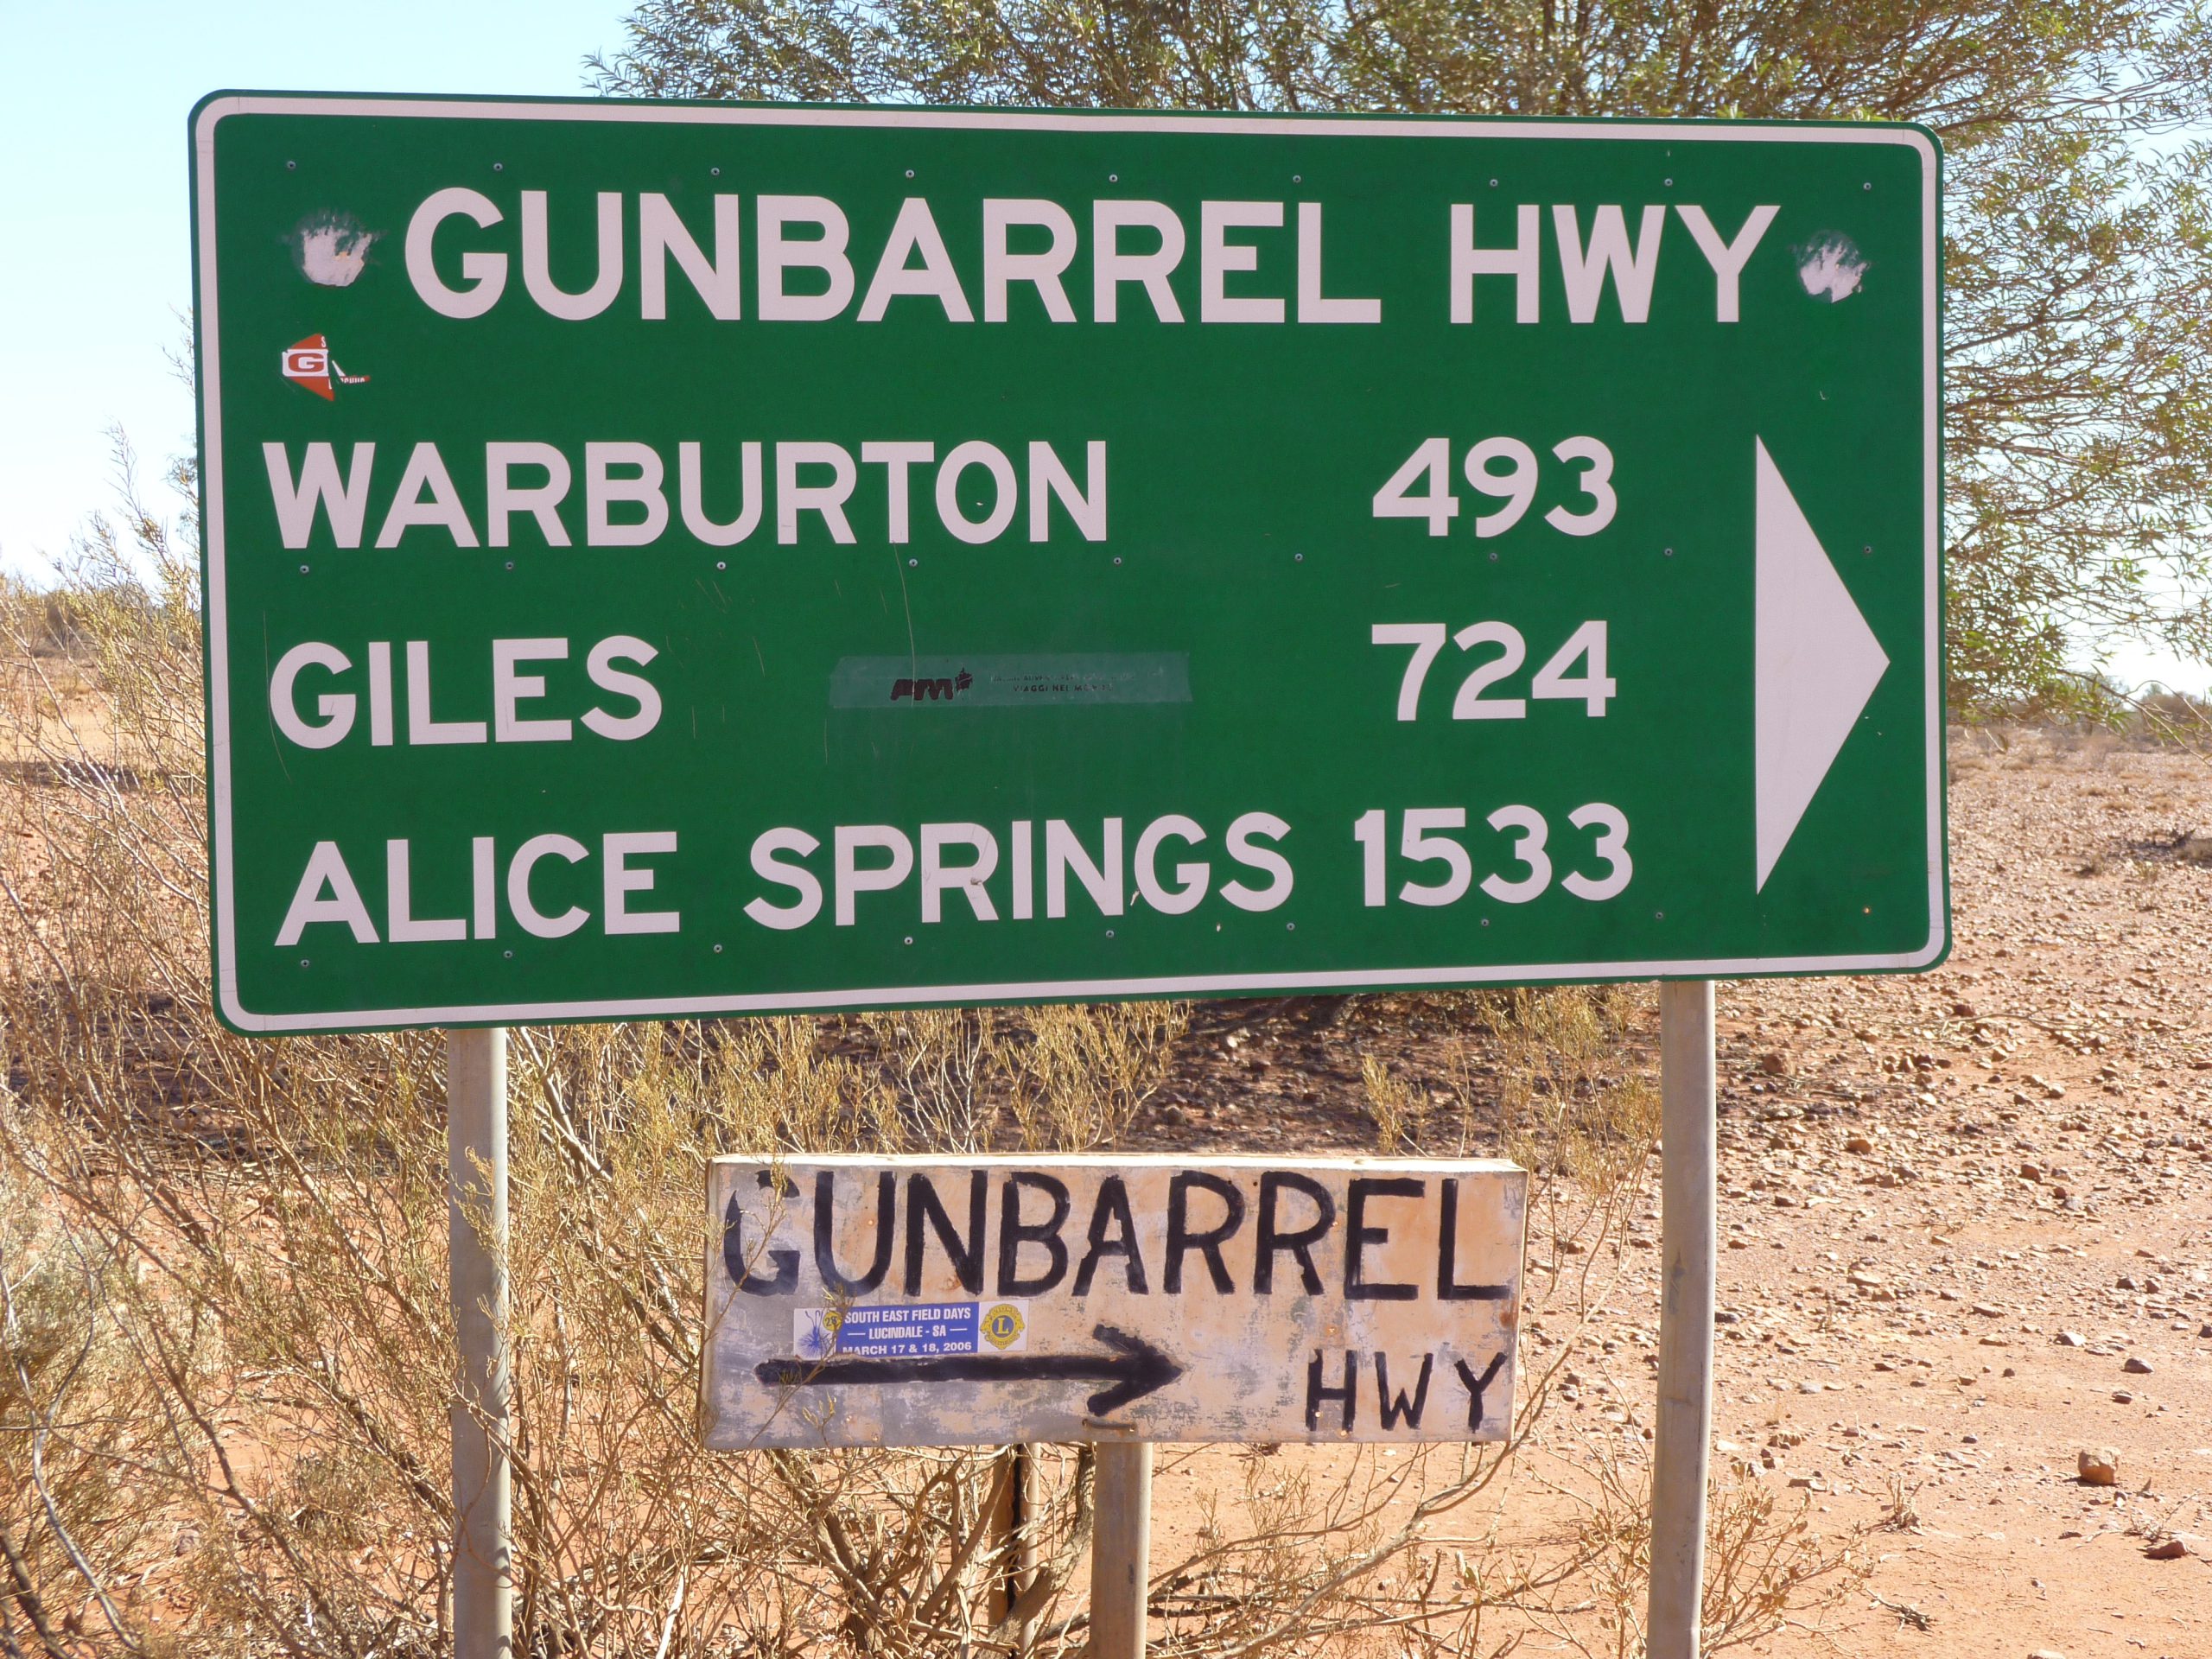
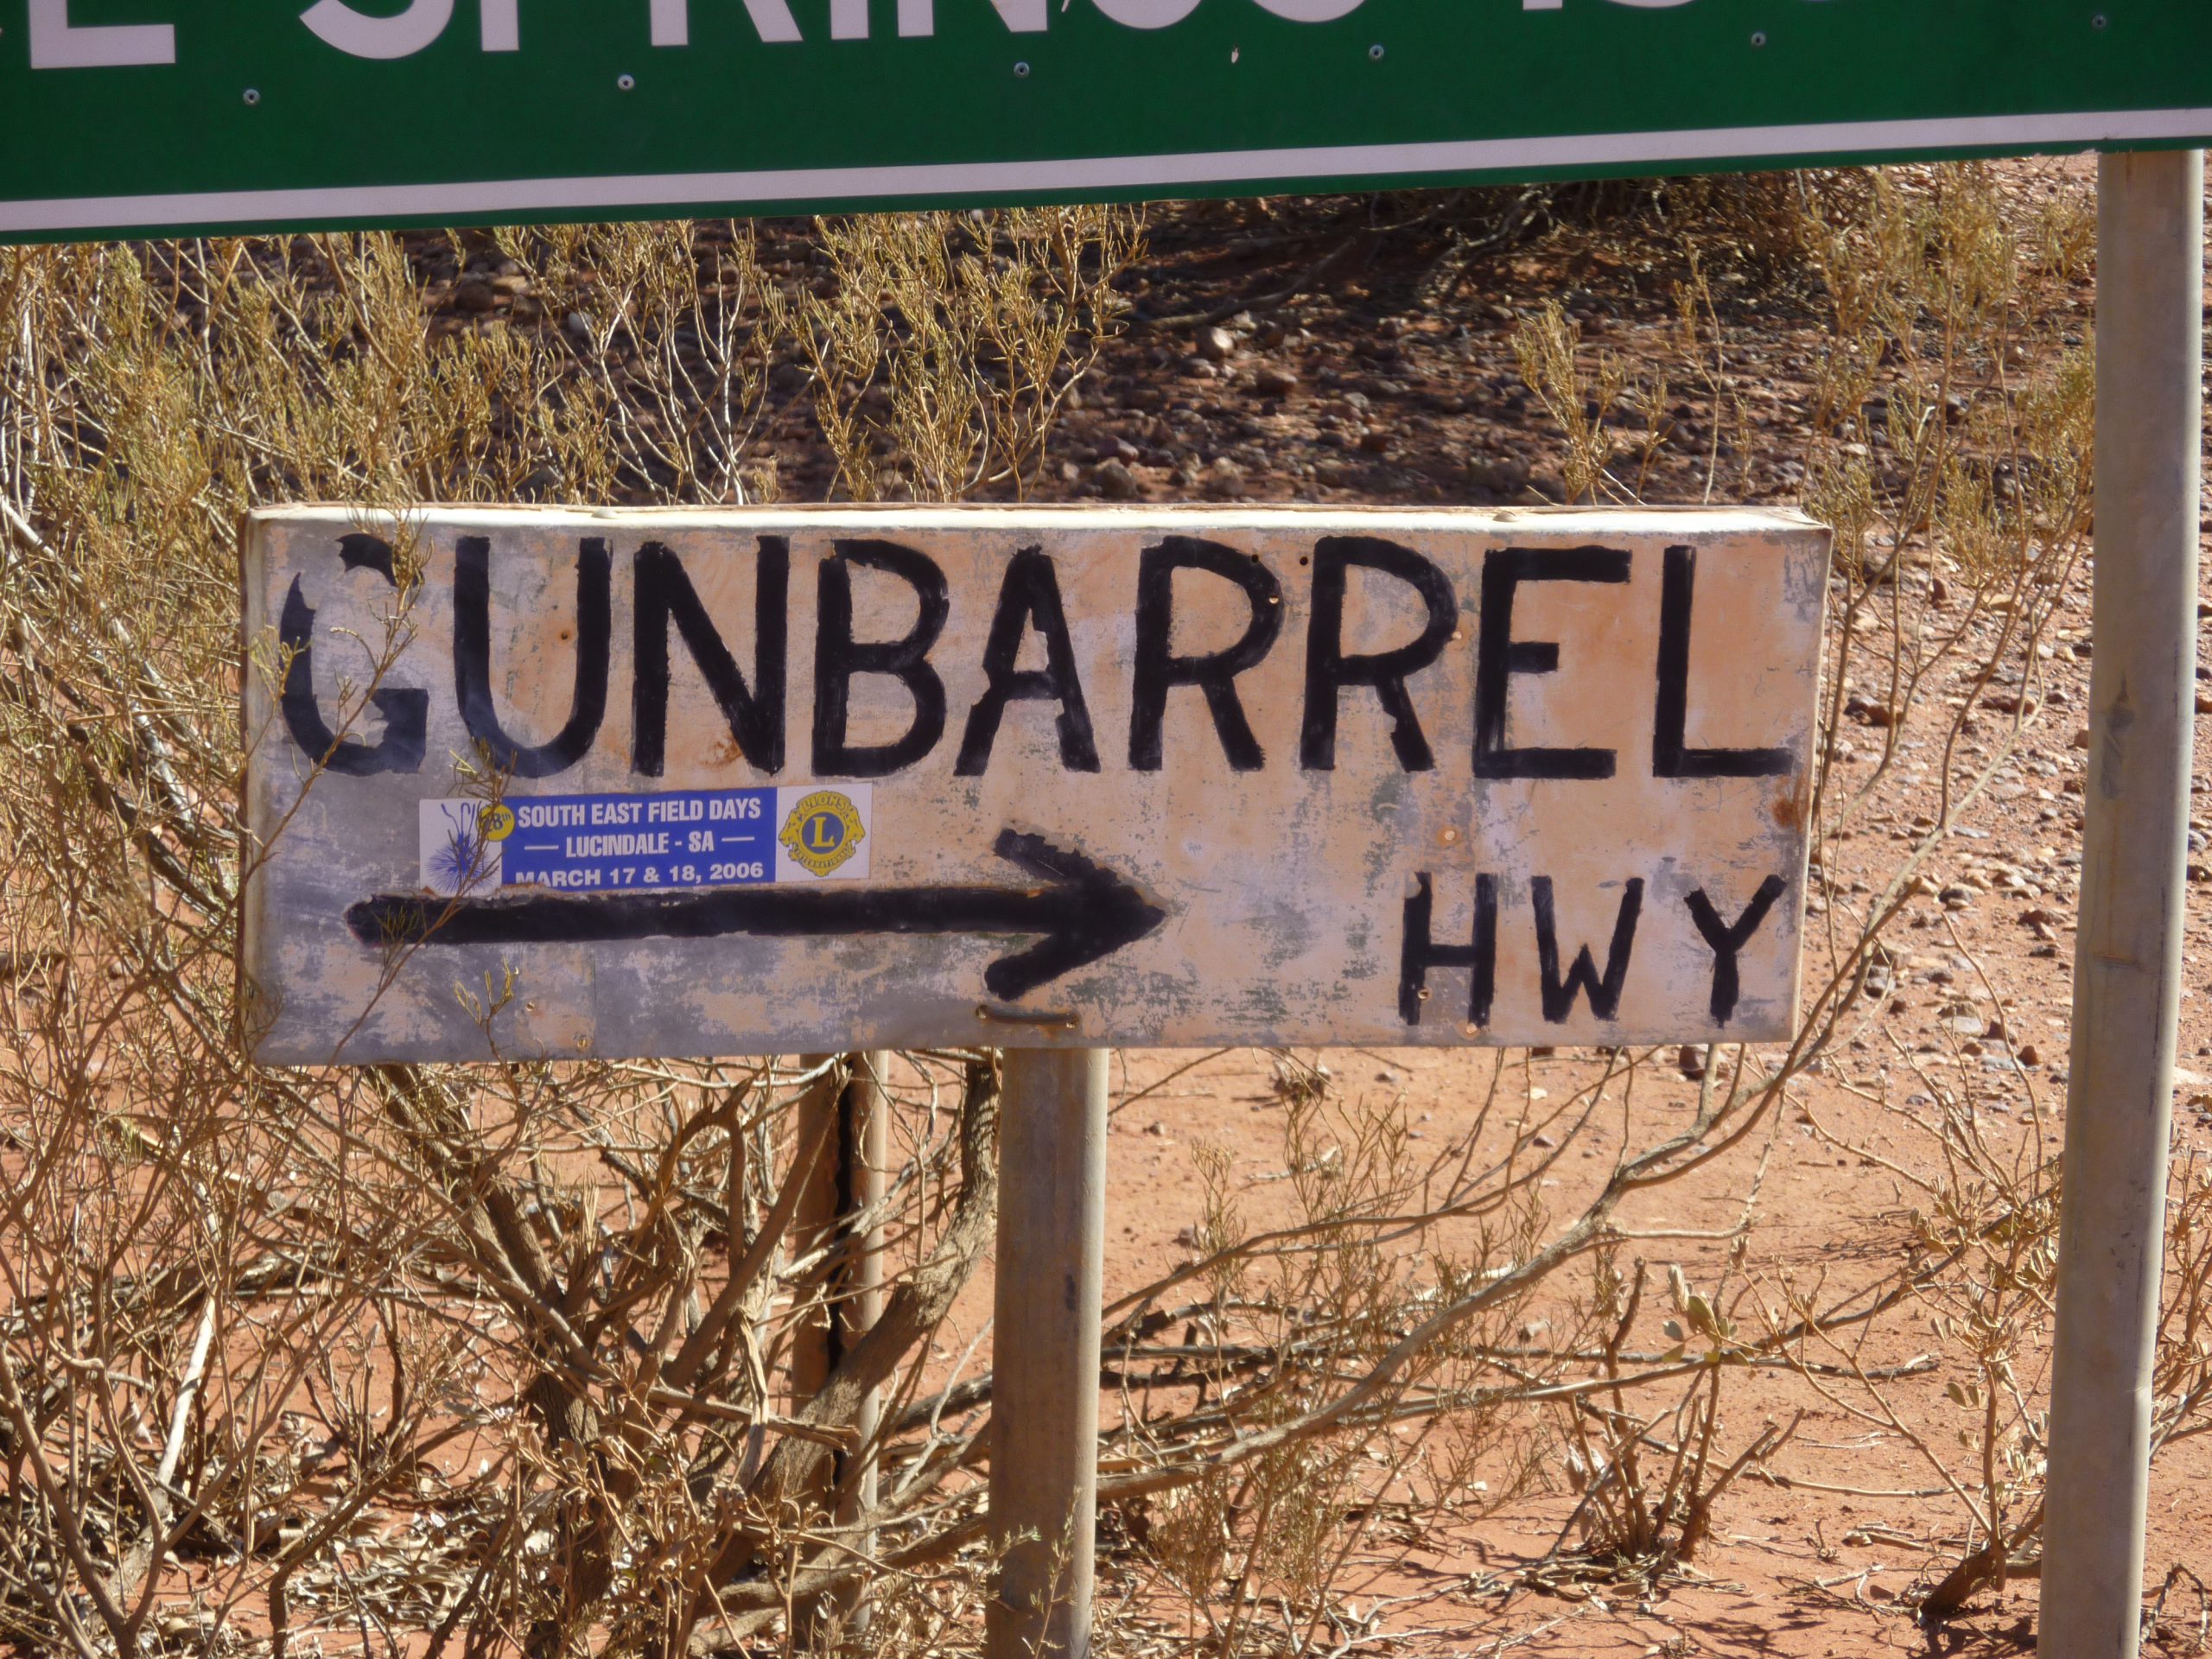
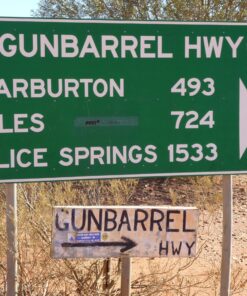
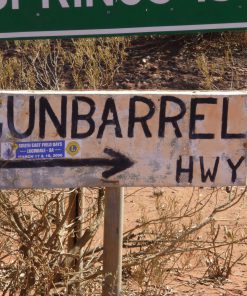
Marvel at the stunning vistas of Uluru (Ayers Rock) and the biggest night sky on Earth. Drive for days on end without seeing another person. Conquer Big Red, the biggest sand dune in Australia. Reach the geographical centre of Australia and travel the iconic Gunbarrel Highway. Venture into some of the most remote places on Earth!
This isn’t just a trip—it’s an expedition into the heart of the real Australia. No tourist buses. No crowds. Just raw, untouched landscapes and experiences. You will visit places only a few lucky people have ever seen. As the original Across Australia tour operator, we offer something truly unique: an adventure you won’t find anywhere else.
PRICE
$7500
DURATION
30 Days
DISTANCE
6716 km
START LOCATION
Hamelin Pool, WA
PERCENTAGE OF BITUMEN / DIRT: 10/90
AVERAGE DISTANCE PER DAY: 240km
GROUP SIZE: 6-10 vehicles
GLAMPING OPTIONS: 15 out of 30 days
TOUR START LOCATION: Hamelin Pool, WA
TOUR FINISH LOCATION: Byron Bay, NSW
ACCOMMODATION: Bush Camp & Campground
TOUR GRADE: Medium. NO trailers, caravans or campers.
314km (C D R)
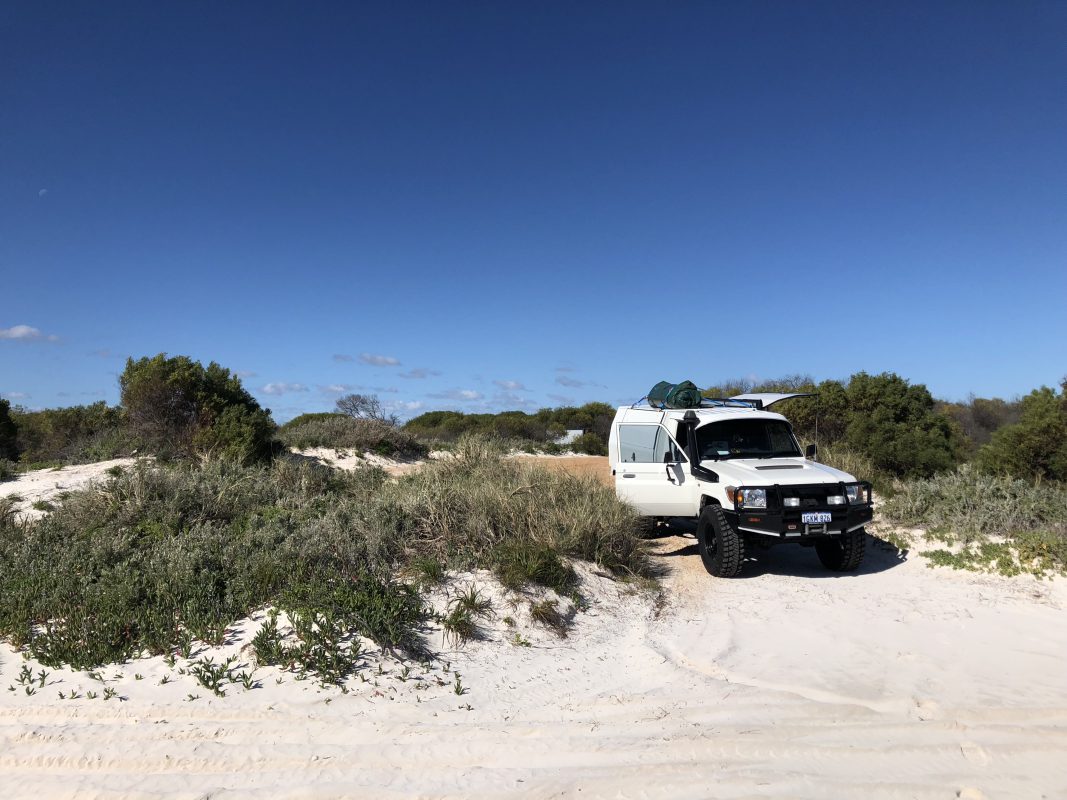
We kick off our Across Australia journey with breakfast and a safety briefing at Hamelin Bay. From there, we head west toward the edge of the continent—Steep Point, Australia’s westernmost tip. The final stretch requires 4WD and a tyre deflation to navigate the sandy tracks. After soaking in the views and snapping a few photos, we return to Hamelin Bay for our Welcome Dinner and first night under the stars.
276km (B)
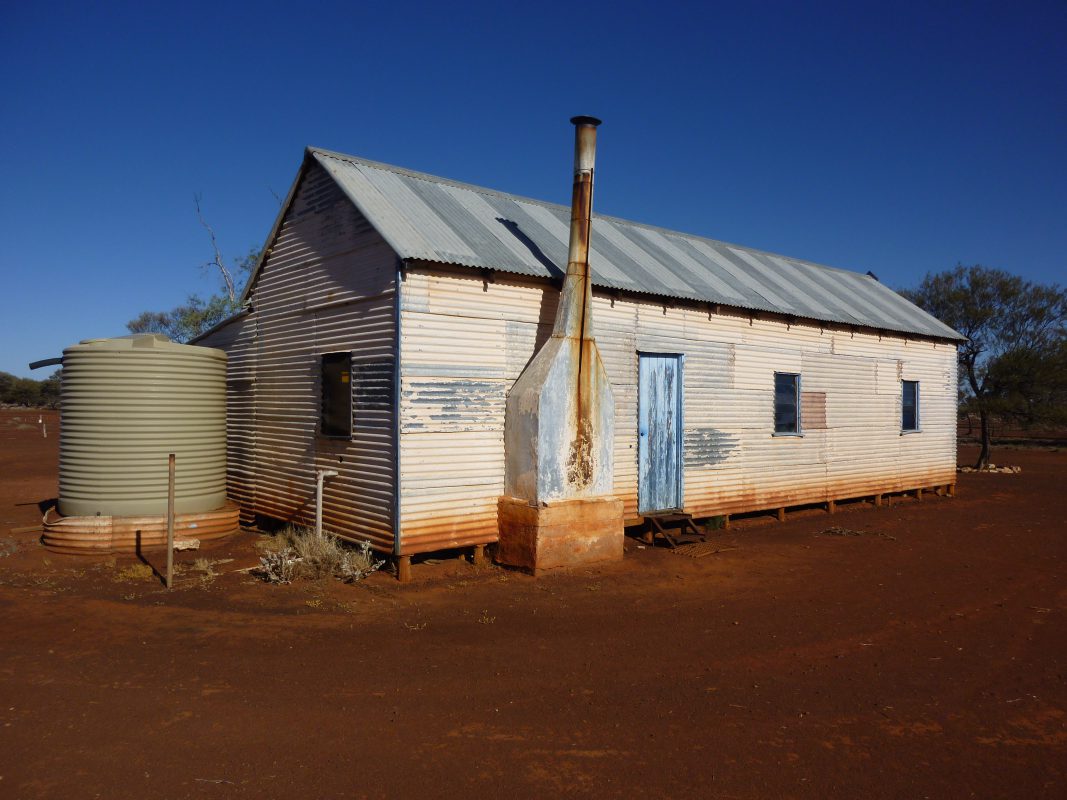
Leaving the coast behind, we venture inland through regions once known for thriving sheep stations. By mid-afternoon, we reach our riverside camp alongside the Murchison.
256km (B)
Today we head east, leaving the remnants of the goldfields behind as we enter cattle country. The terrain opens up and the road stretches ahead, offering a taste of the vastness to come.
220km (C M R)
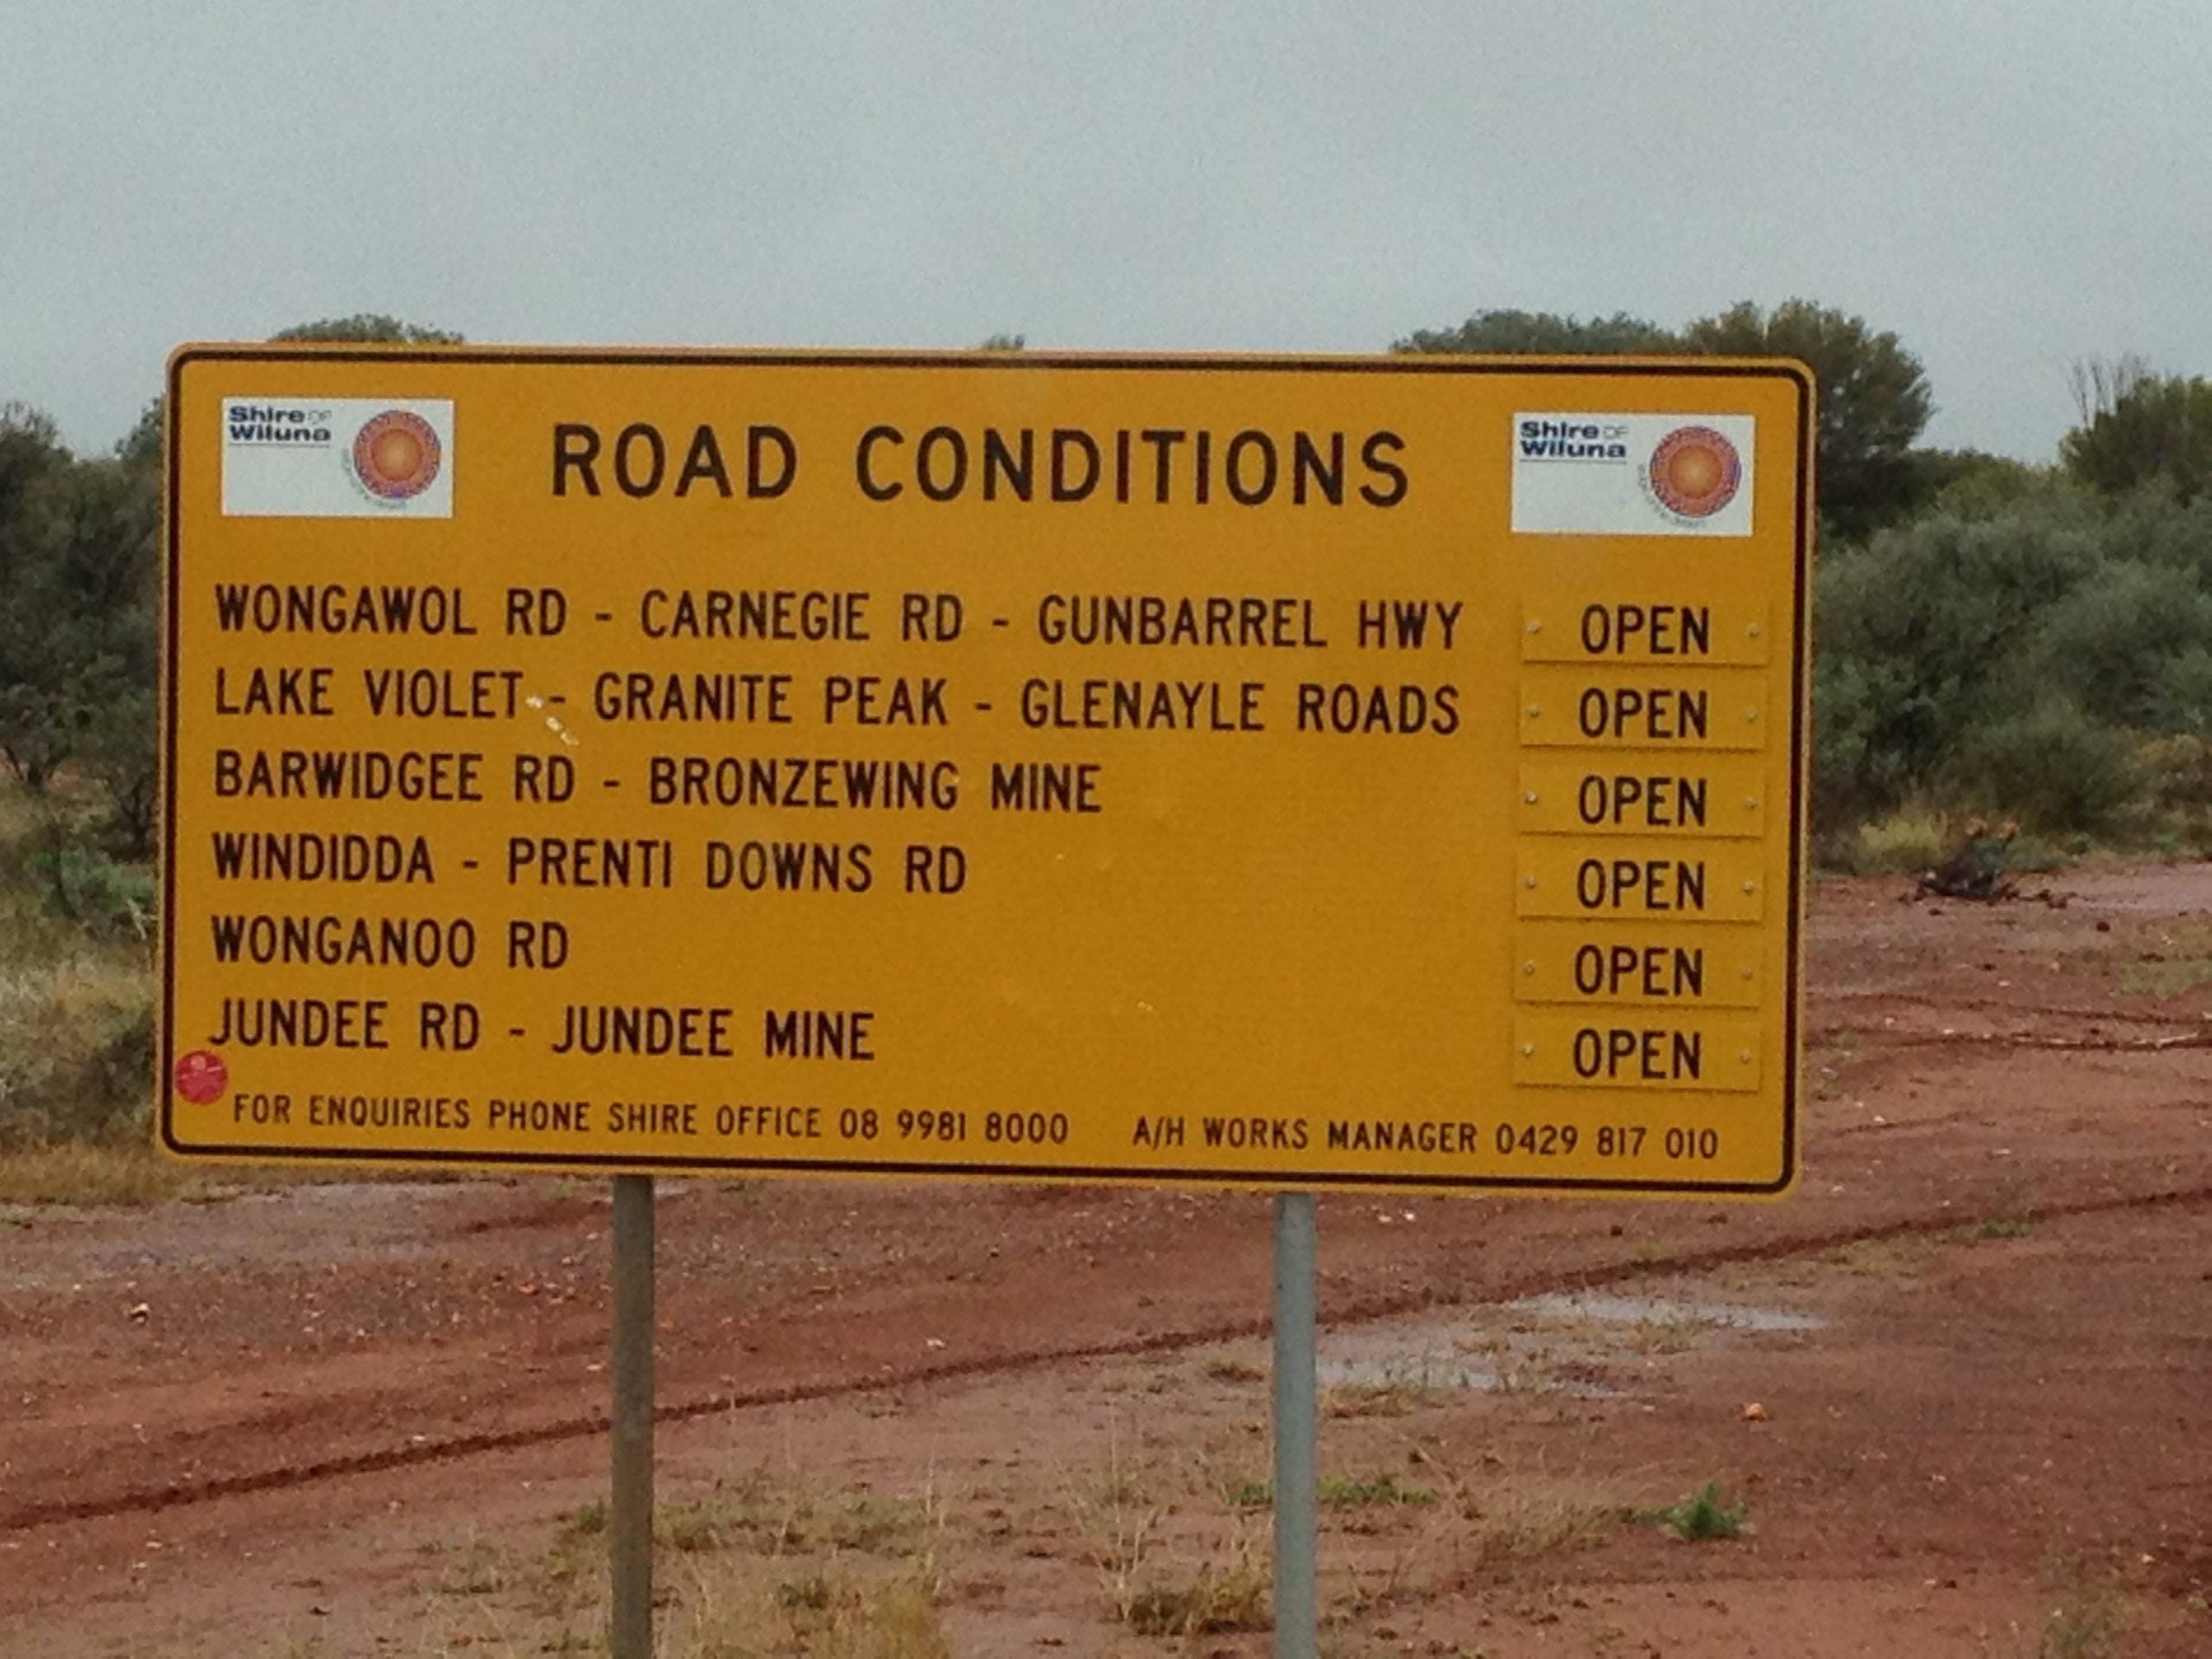
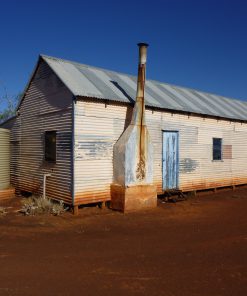
We continue deeper into Western Australia’s gold mining belt, passing through historic country towns before arriving in Wiluna. A hot shower and a hearty home-style dinner await.
342km (B)
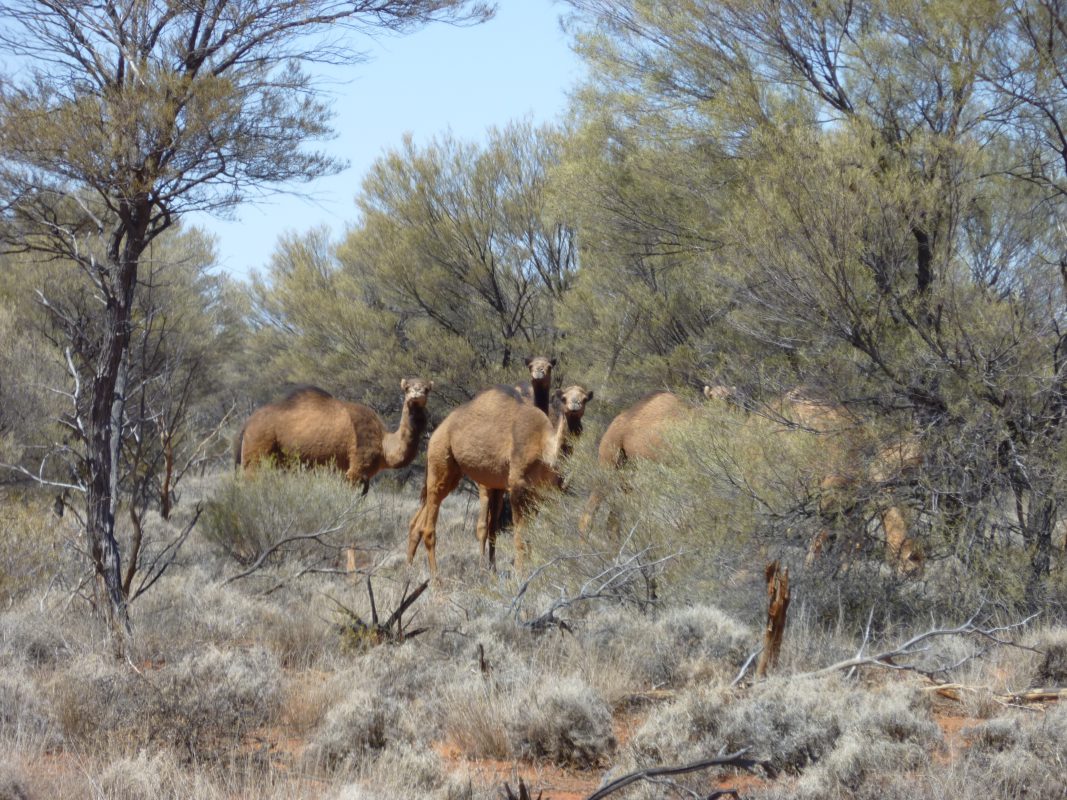
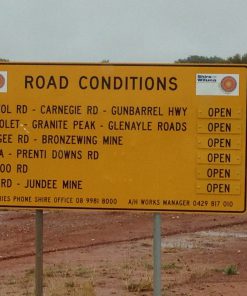
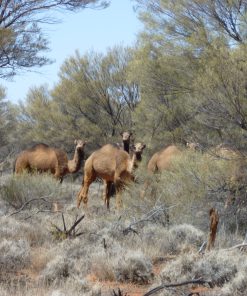
Our first full day on the Gunbarrel Highway takes us through cattle country and into more remote terrain. Wildlife sightings are common along this stretch, adding to the sense of isolation and adventure.
0km (C D R)
A well-earned rest day gives you time to catch up—whether it’s laundry, a station tour or simply relaxing. We wrap up the day with a delicious meal served at the station.
204km (B)
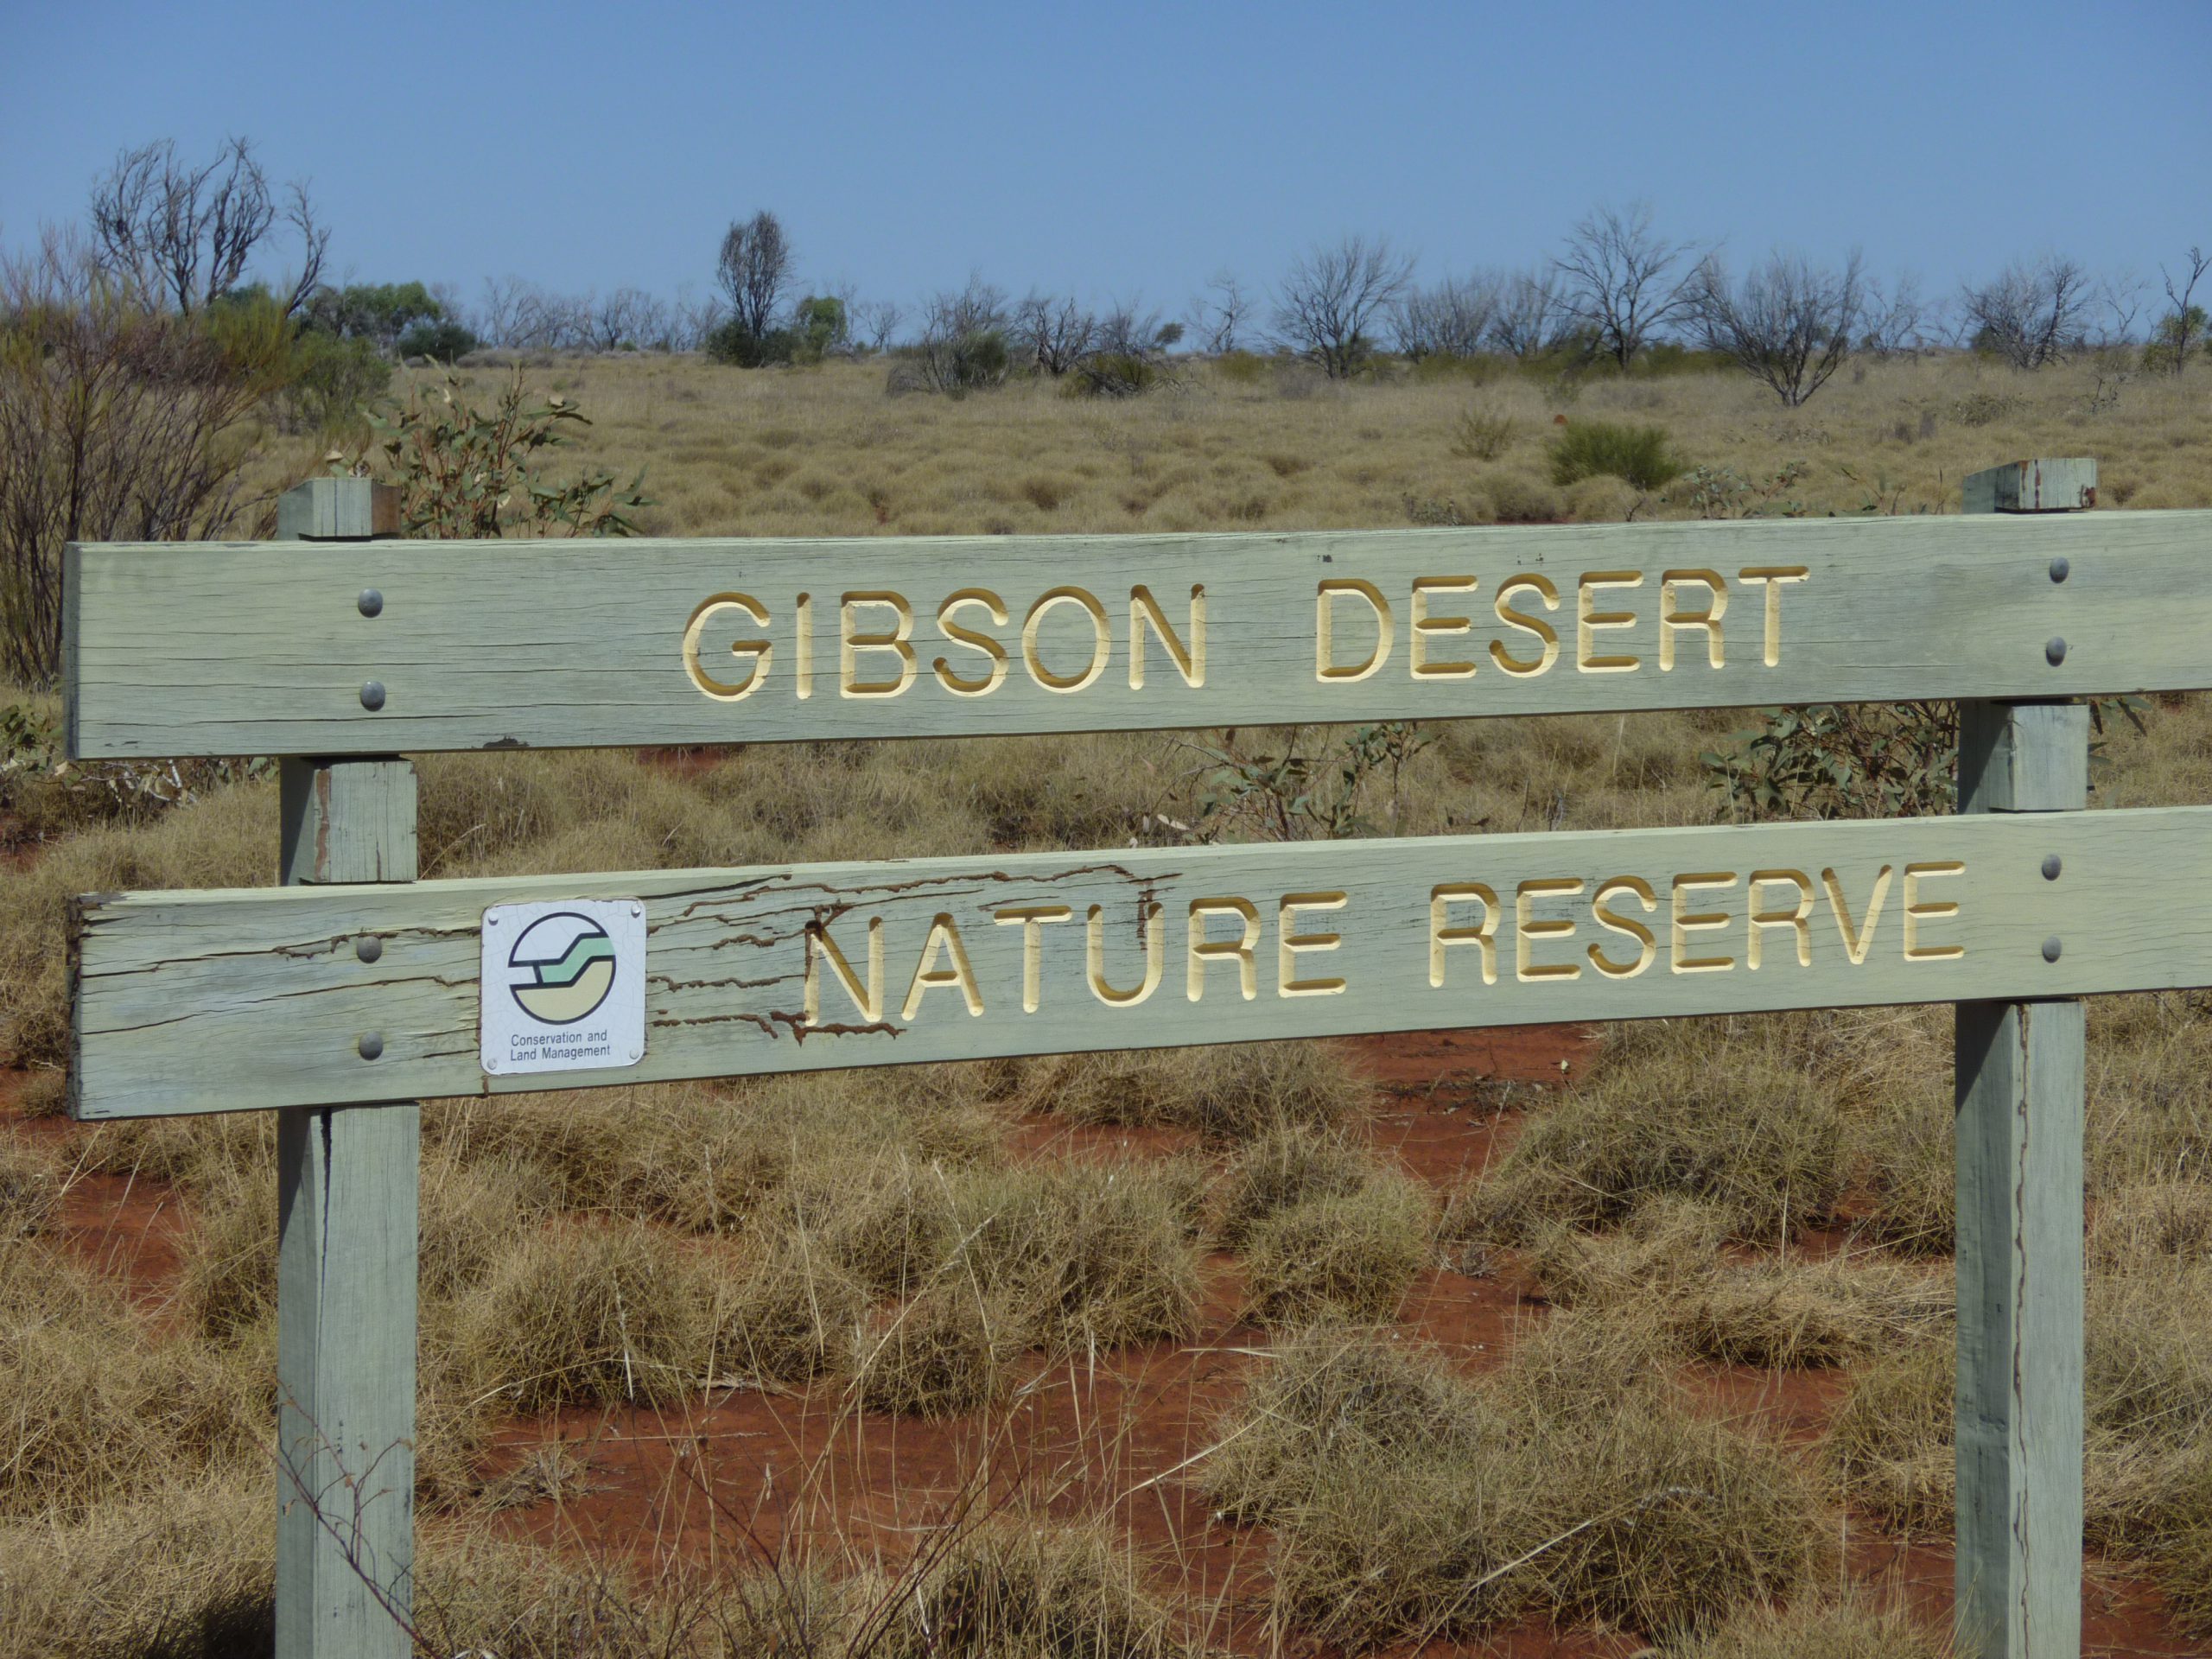
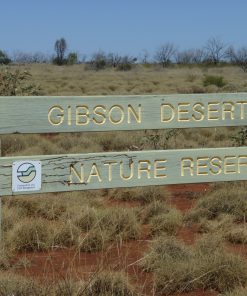
Continuing east along the Gunbarrel, we enter the Gibson Desert and encounter our first sand dunes of the trip. We make camp beneath the gum trees at Geraldton Bore, surrounded by desert silence.
158km (B)
It’s a challenging day on the track, with difficult sections testing our driving skills. Late in the day, we leave the Gunbarrel and join the Heather Highway, setting up camp near the junction.
376km (B)
After the Heather, we join the Great Central Road and stop at the Aboriginal community of Warburton to refuel. From there, we continue along the GCR and reconnect with a section of the Gunbarrel before reaching Lake Christopher.
421km (C D R)
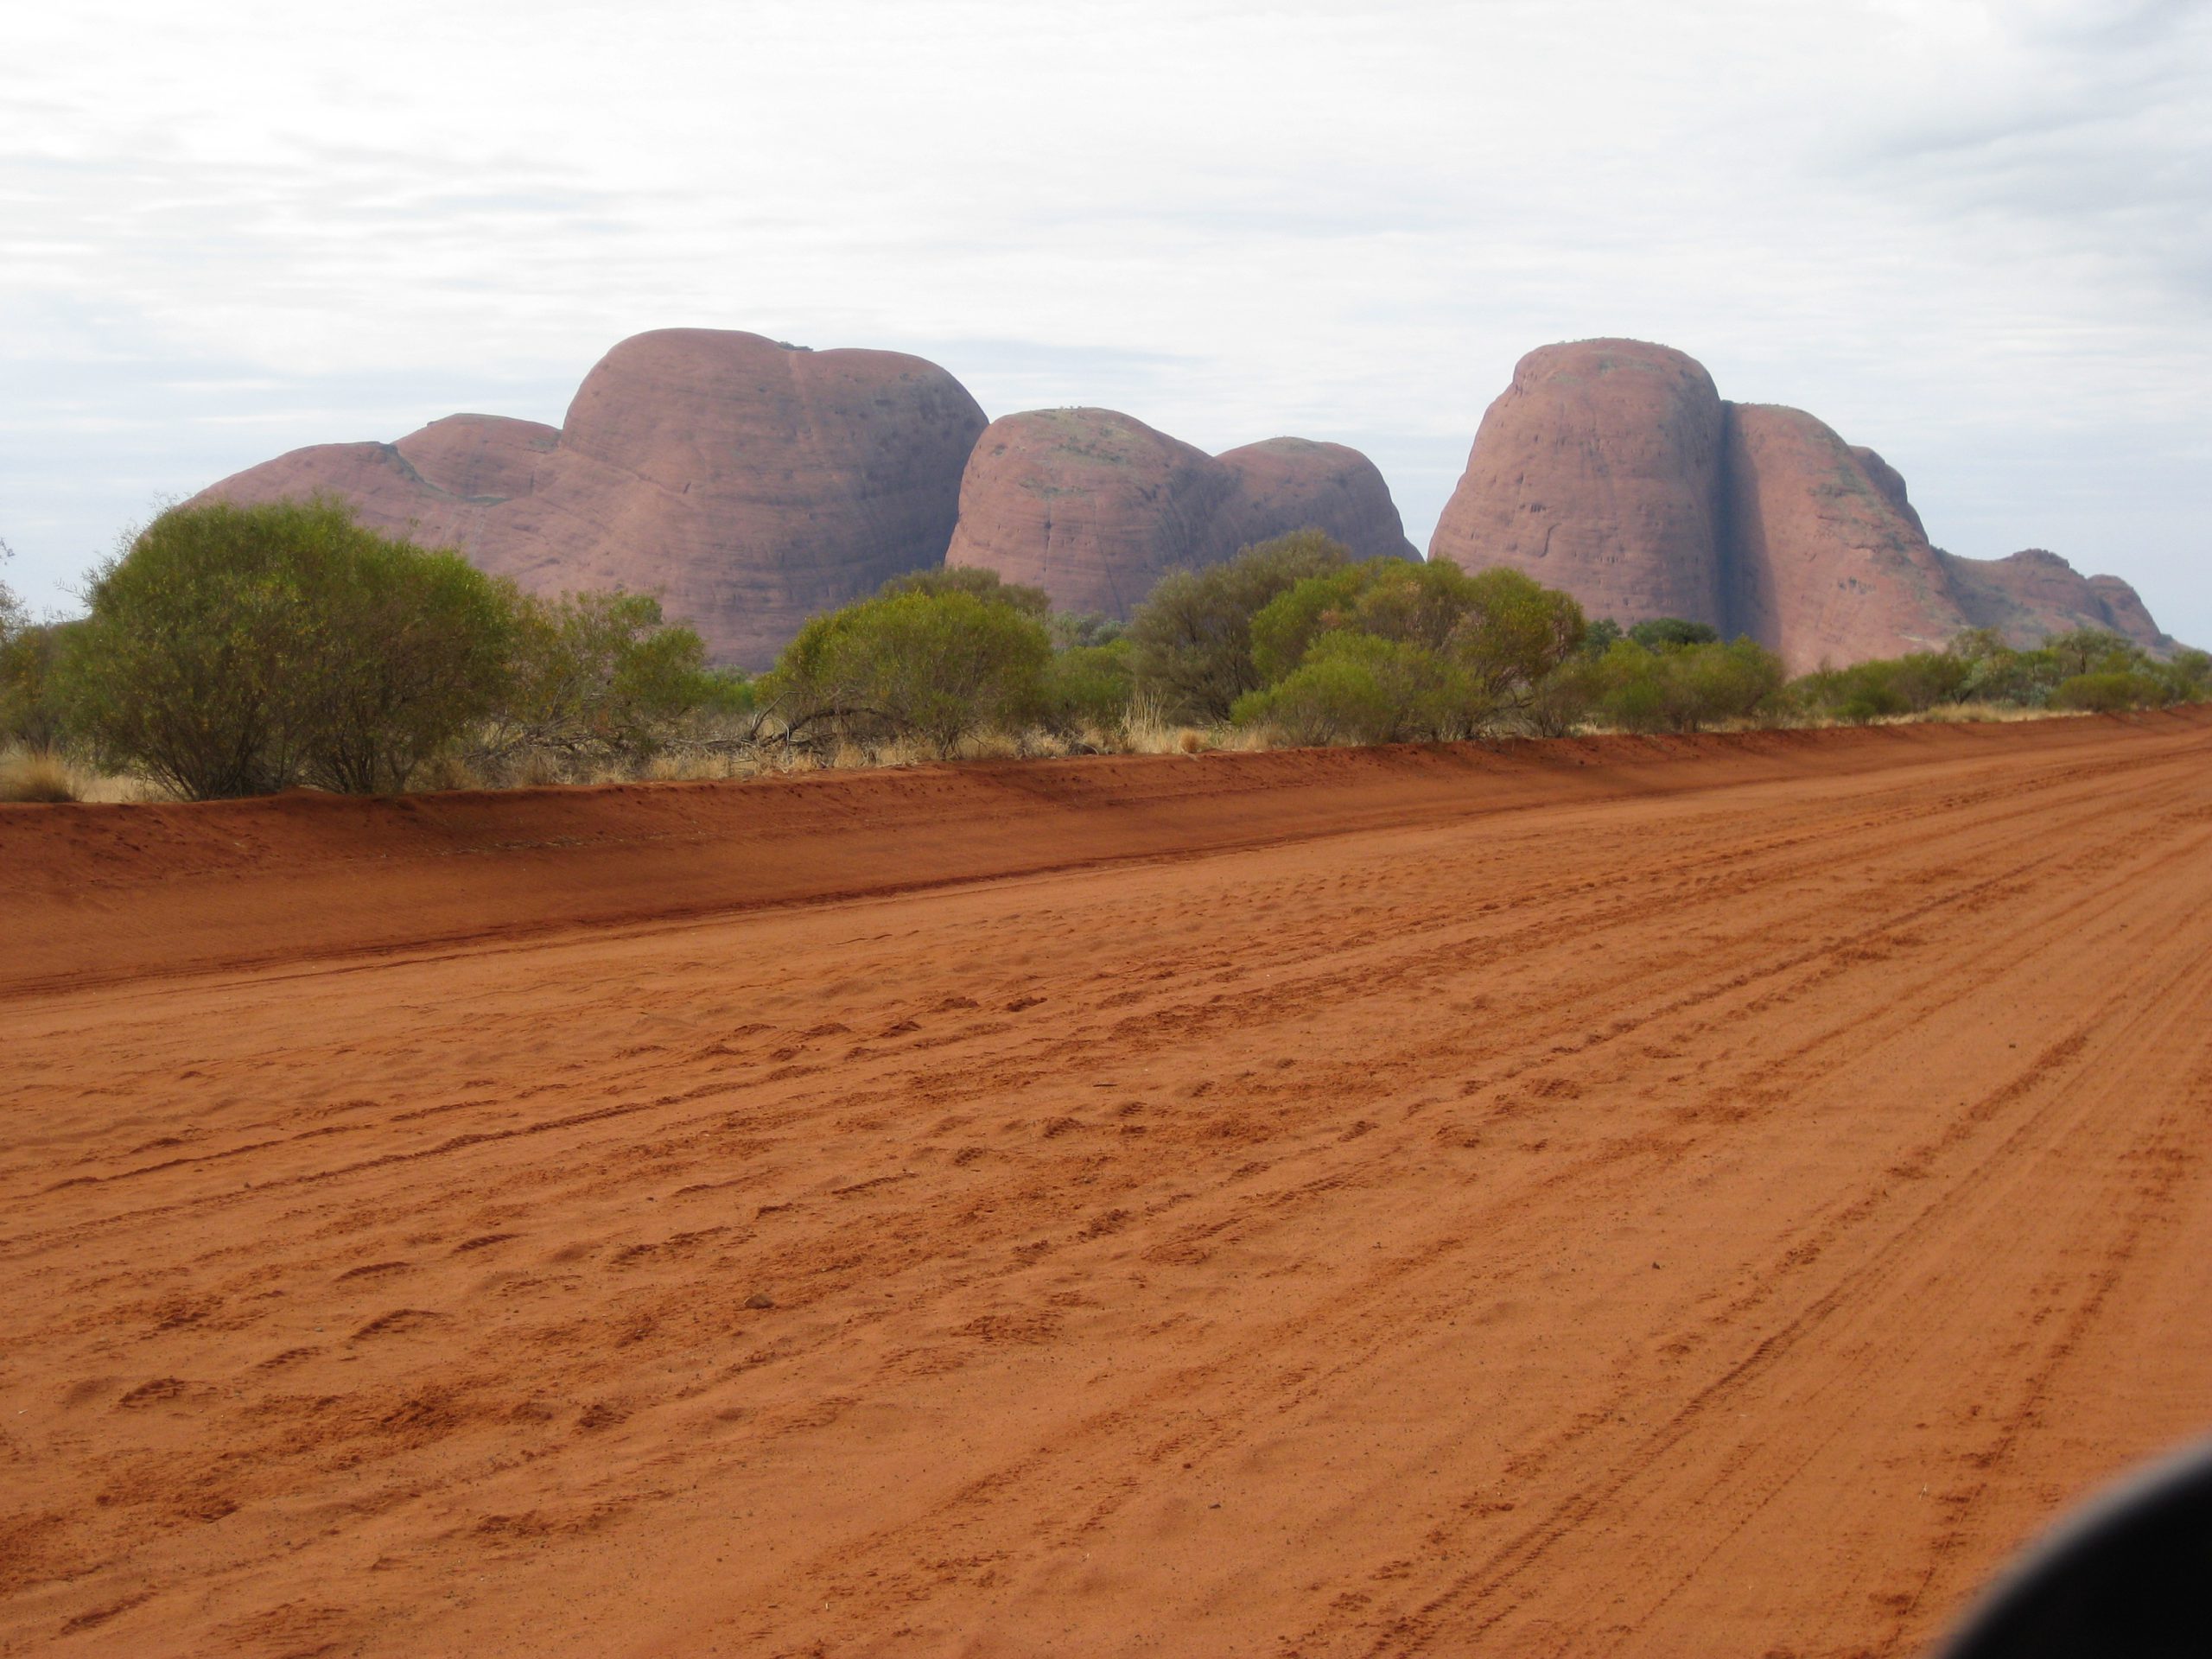
We begin with a stop at Warakurna for fuel, then visit Giles Meteorological Station to see the grader that carved the road we’ve been travelling. After morning tea, we head toward Lasseter’s Cave for lunch. By afternoon, the domes of Kata Tjuta rise on the horizon, followed by the unmistakable silhouette of Uluru as we arrive at Yulara Resort for the night.
Free Day (C M R)
There’s plenty to see and do around Yulara. You might take a relaxed drive out to Uluru for a walk around its base or opt for a helicopter flight to take in the views from above.
306km (C M R)
We leave Uluru behind and head east along the Lasseter Highway before turning north towards Kings Canyon. It’s an easy drive with stunning scenery. We arrive early, giving you time to explore.
228km (C M R)
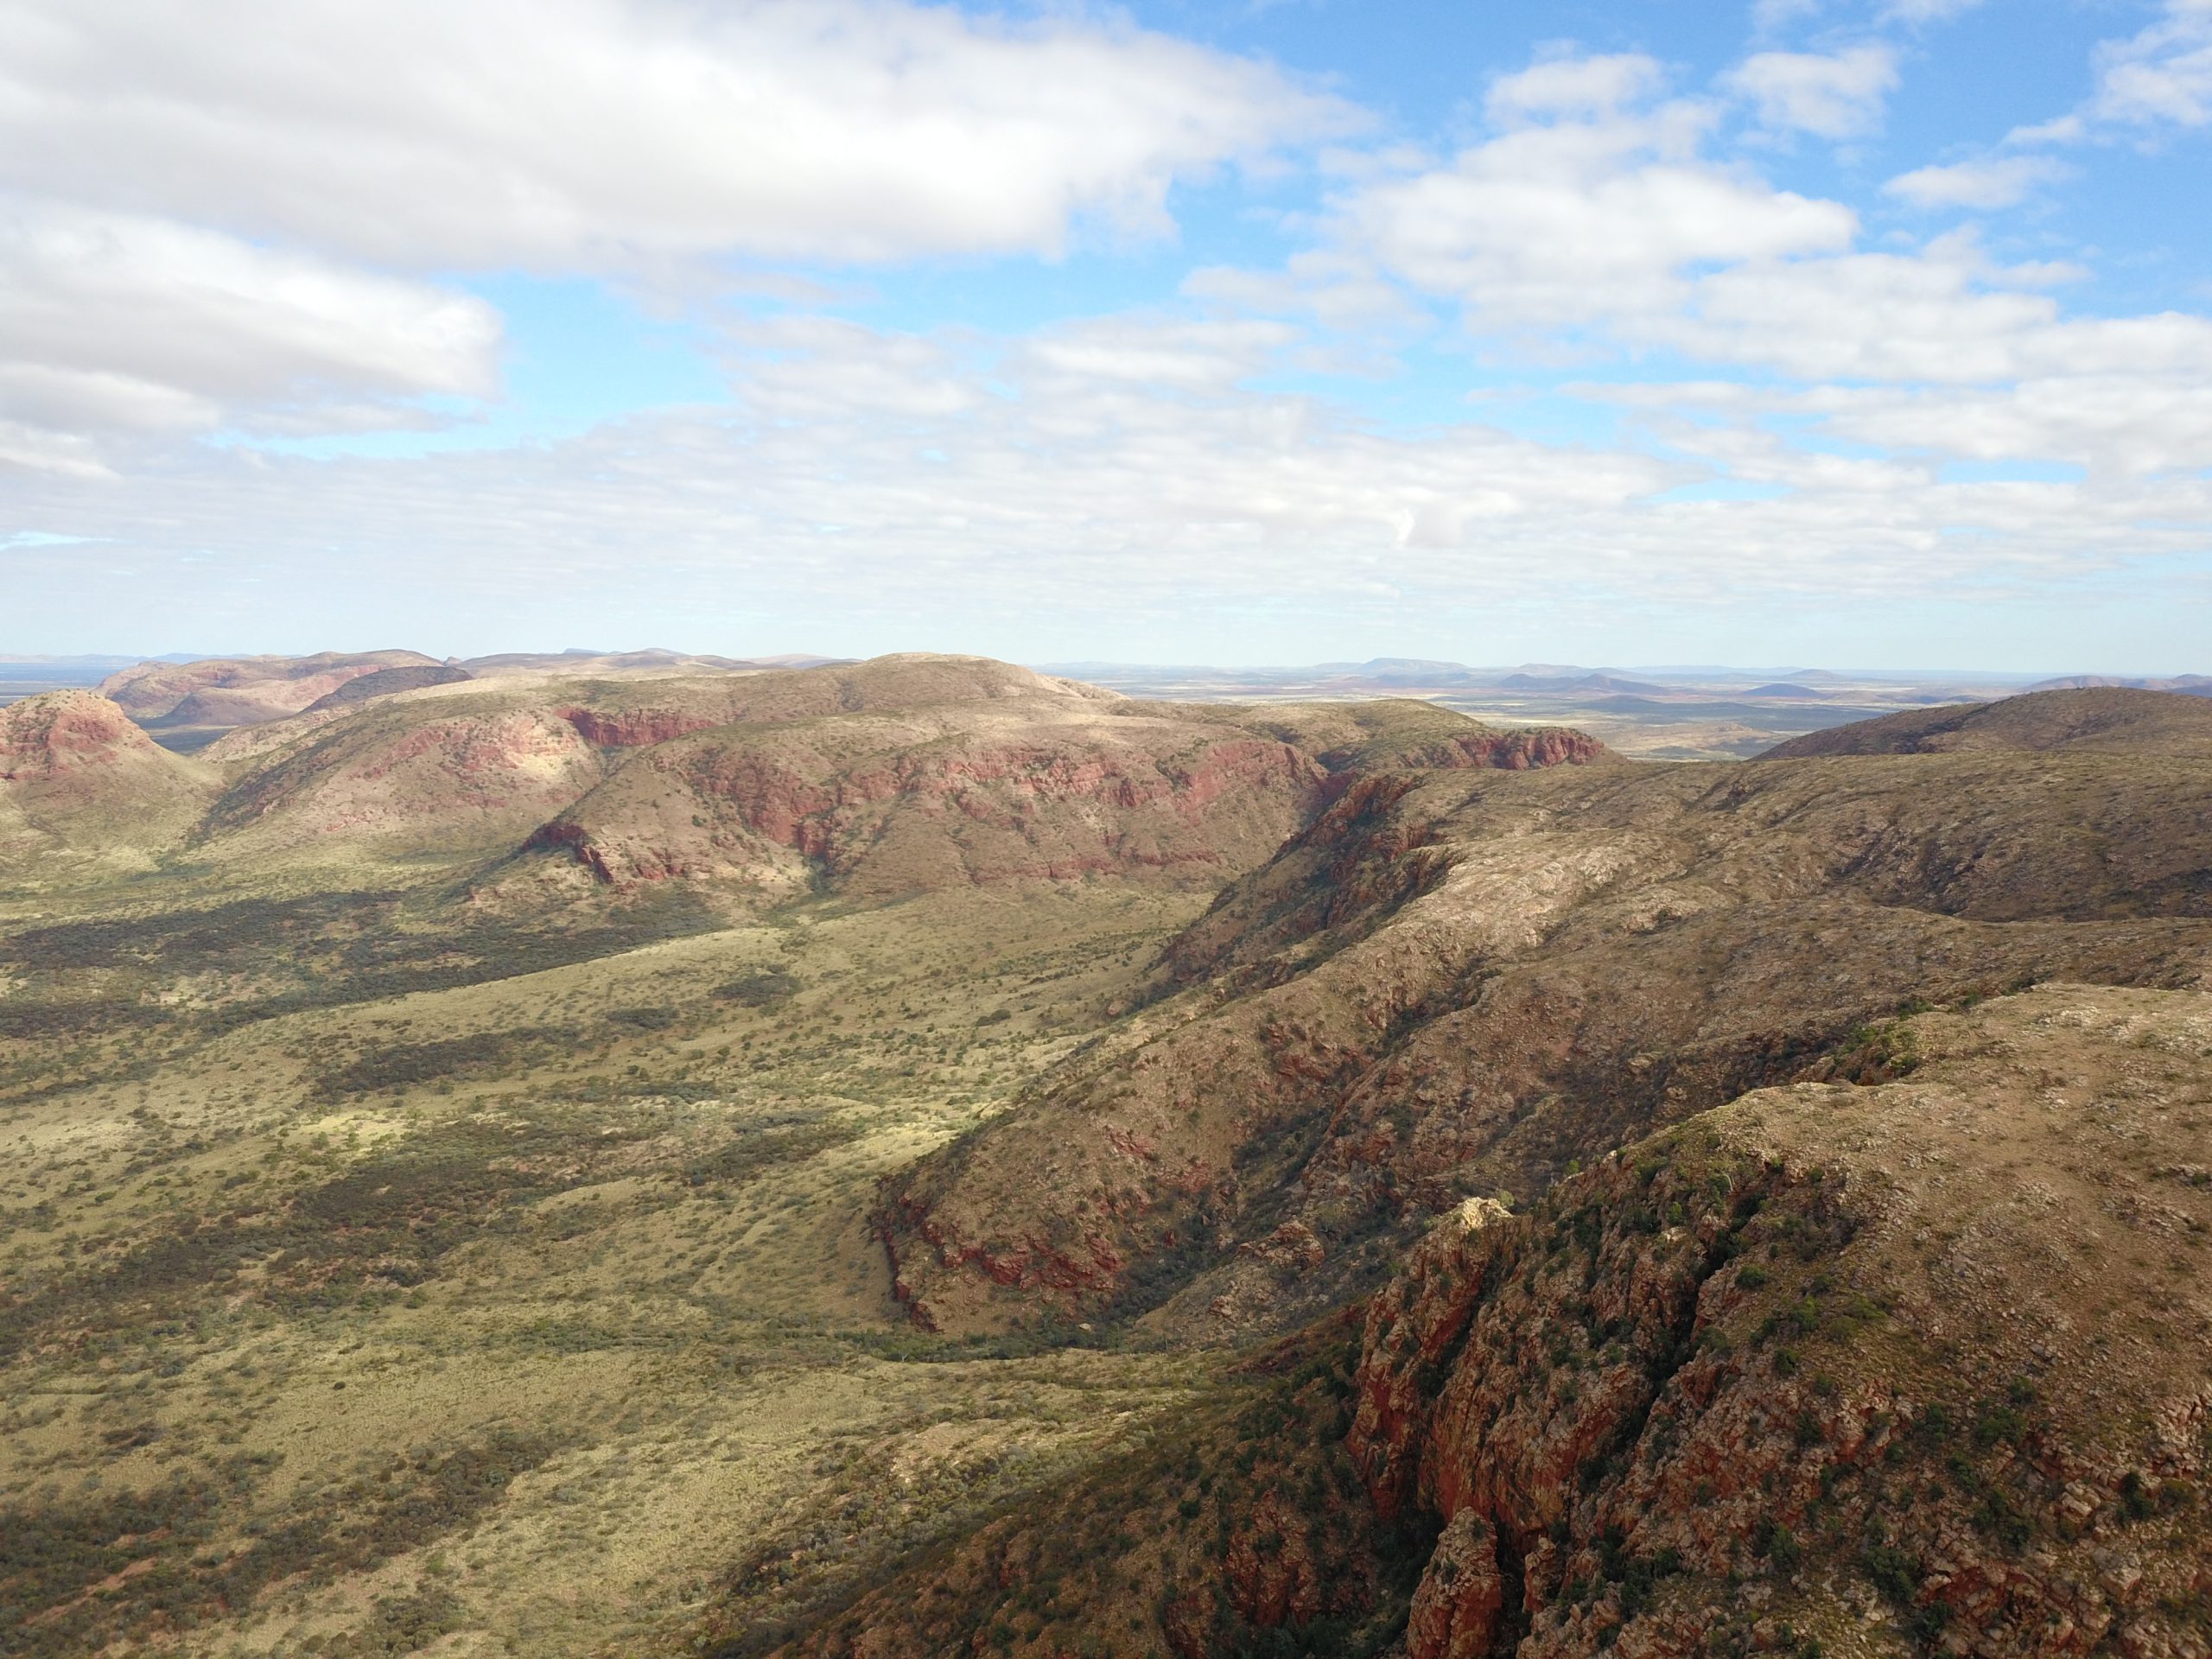
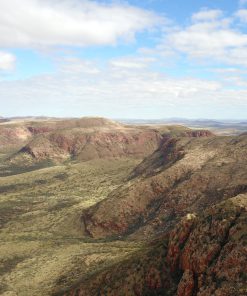
There’s time this morning for a walk or to capture sunrise photos. We head towards the MacDonnell Ranges, with a few scenic spots along the way.
128km (C D R)
We visit several highlights today as we make our way to Alice Springs. Stops include Standley Chasm, Simpsons Gap and the Telegraph Station. Once in town, we refuel and restock before meeting up for dinner.
155km (C R)
We leave Alice Springs after lunch, giving you time to explore the town. On the way to Hale River, we visit Arltunga, a historic gold mining settlement, before arriving at our overnight stop.
276km (B)
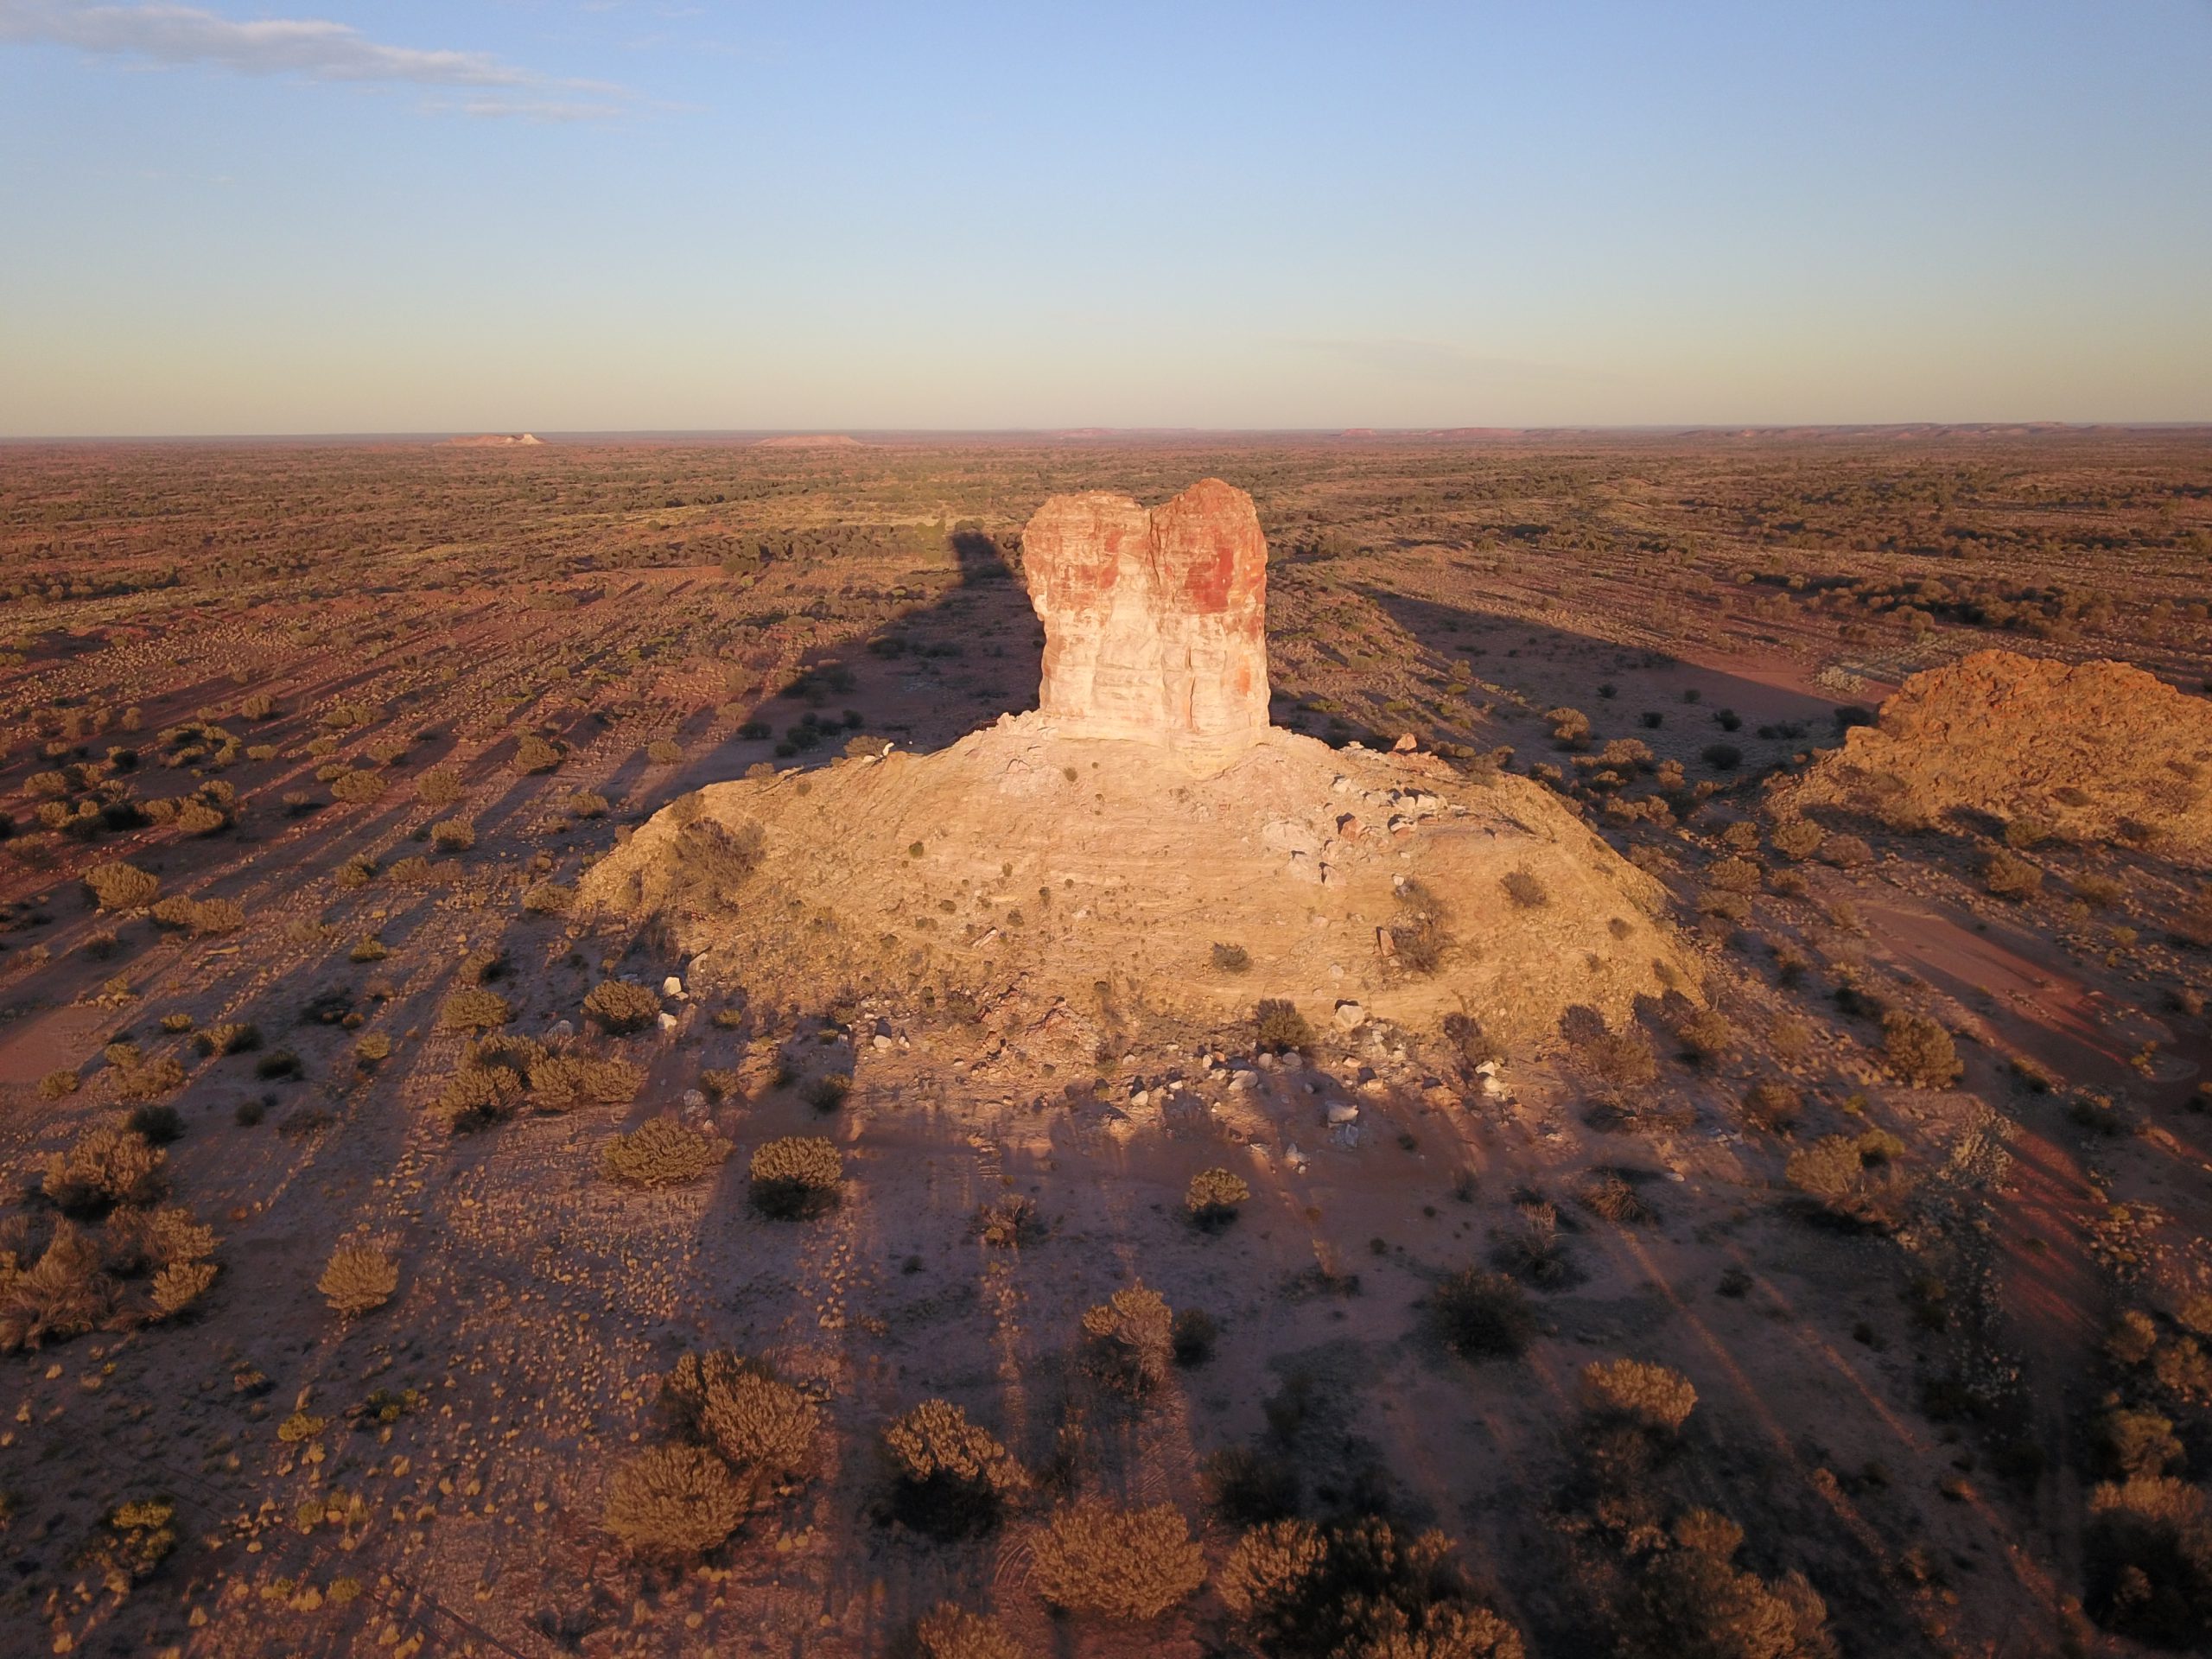
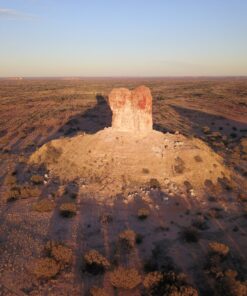
We return to Alice Springs by midday to refuel, then head south along the Old Ghan Railway. From here, it’s dirt roads for the next seven days. We reach camp near Chambers Pillar by late afternoon, just in time for a spectacular sunset.
221km (B)
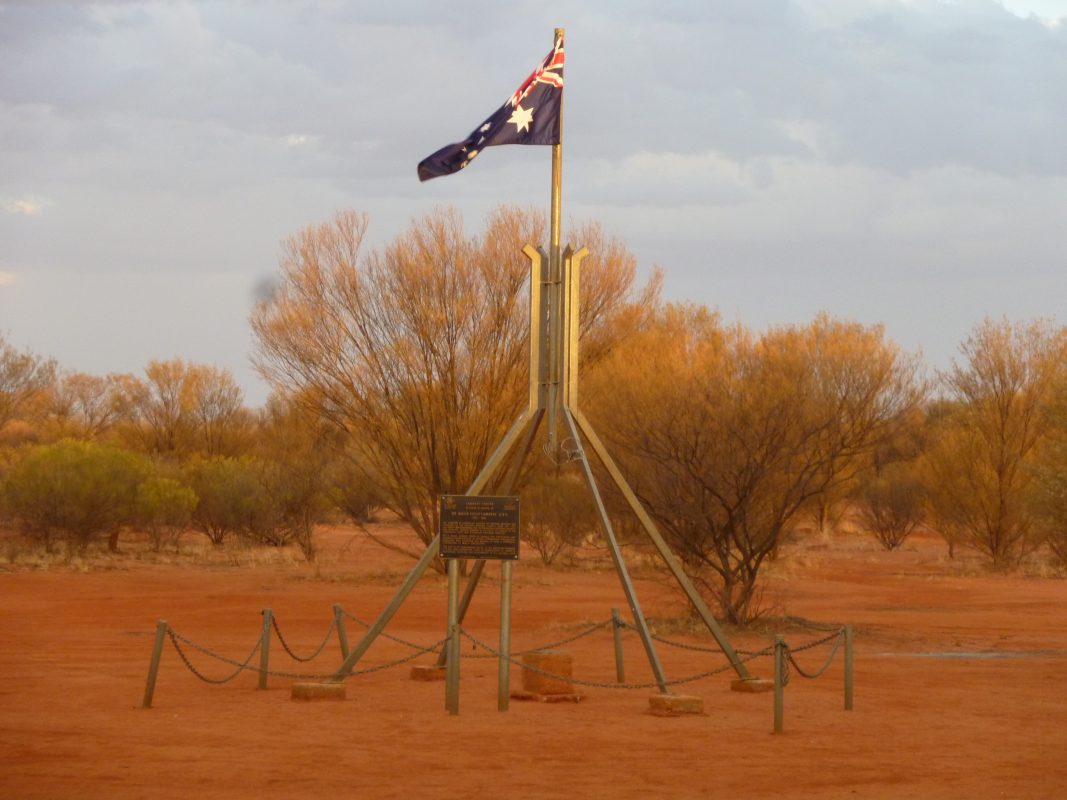
Our first stop is Rodinga, one of the original Old Ghan stations. We continue south, refuelling at the Finke Aboriginal community before arriving at Lambert Centre, the geographical centre of Australia.
244km (B)
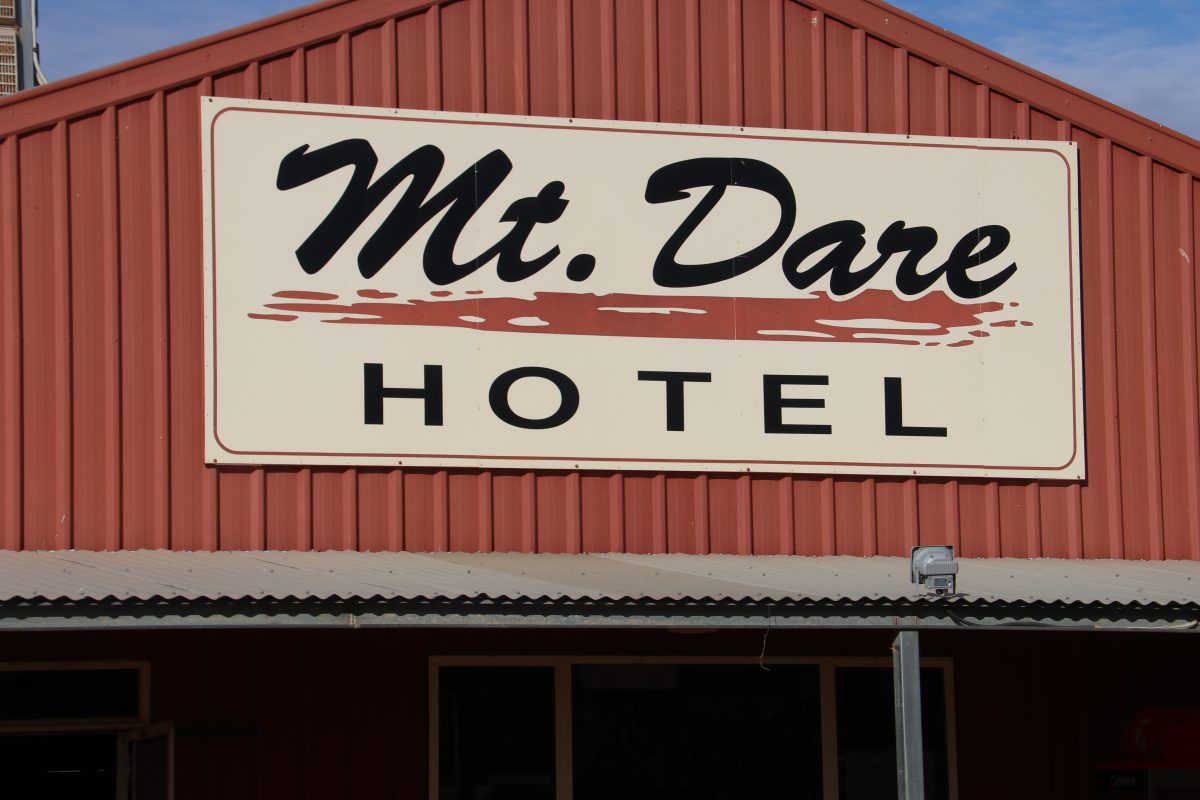
We pass several historic sites en route to Dalhousie Hot Springs. Along the way, we stop at Mt Dare, our final fuel stop before heading into the desert.
123km (B)
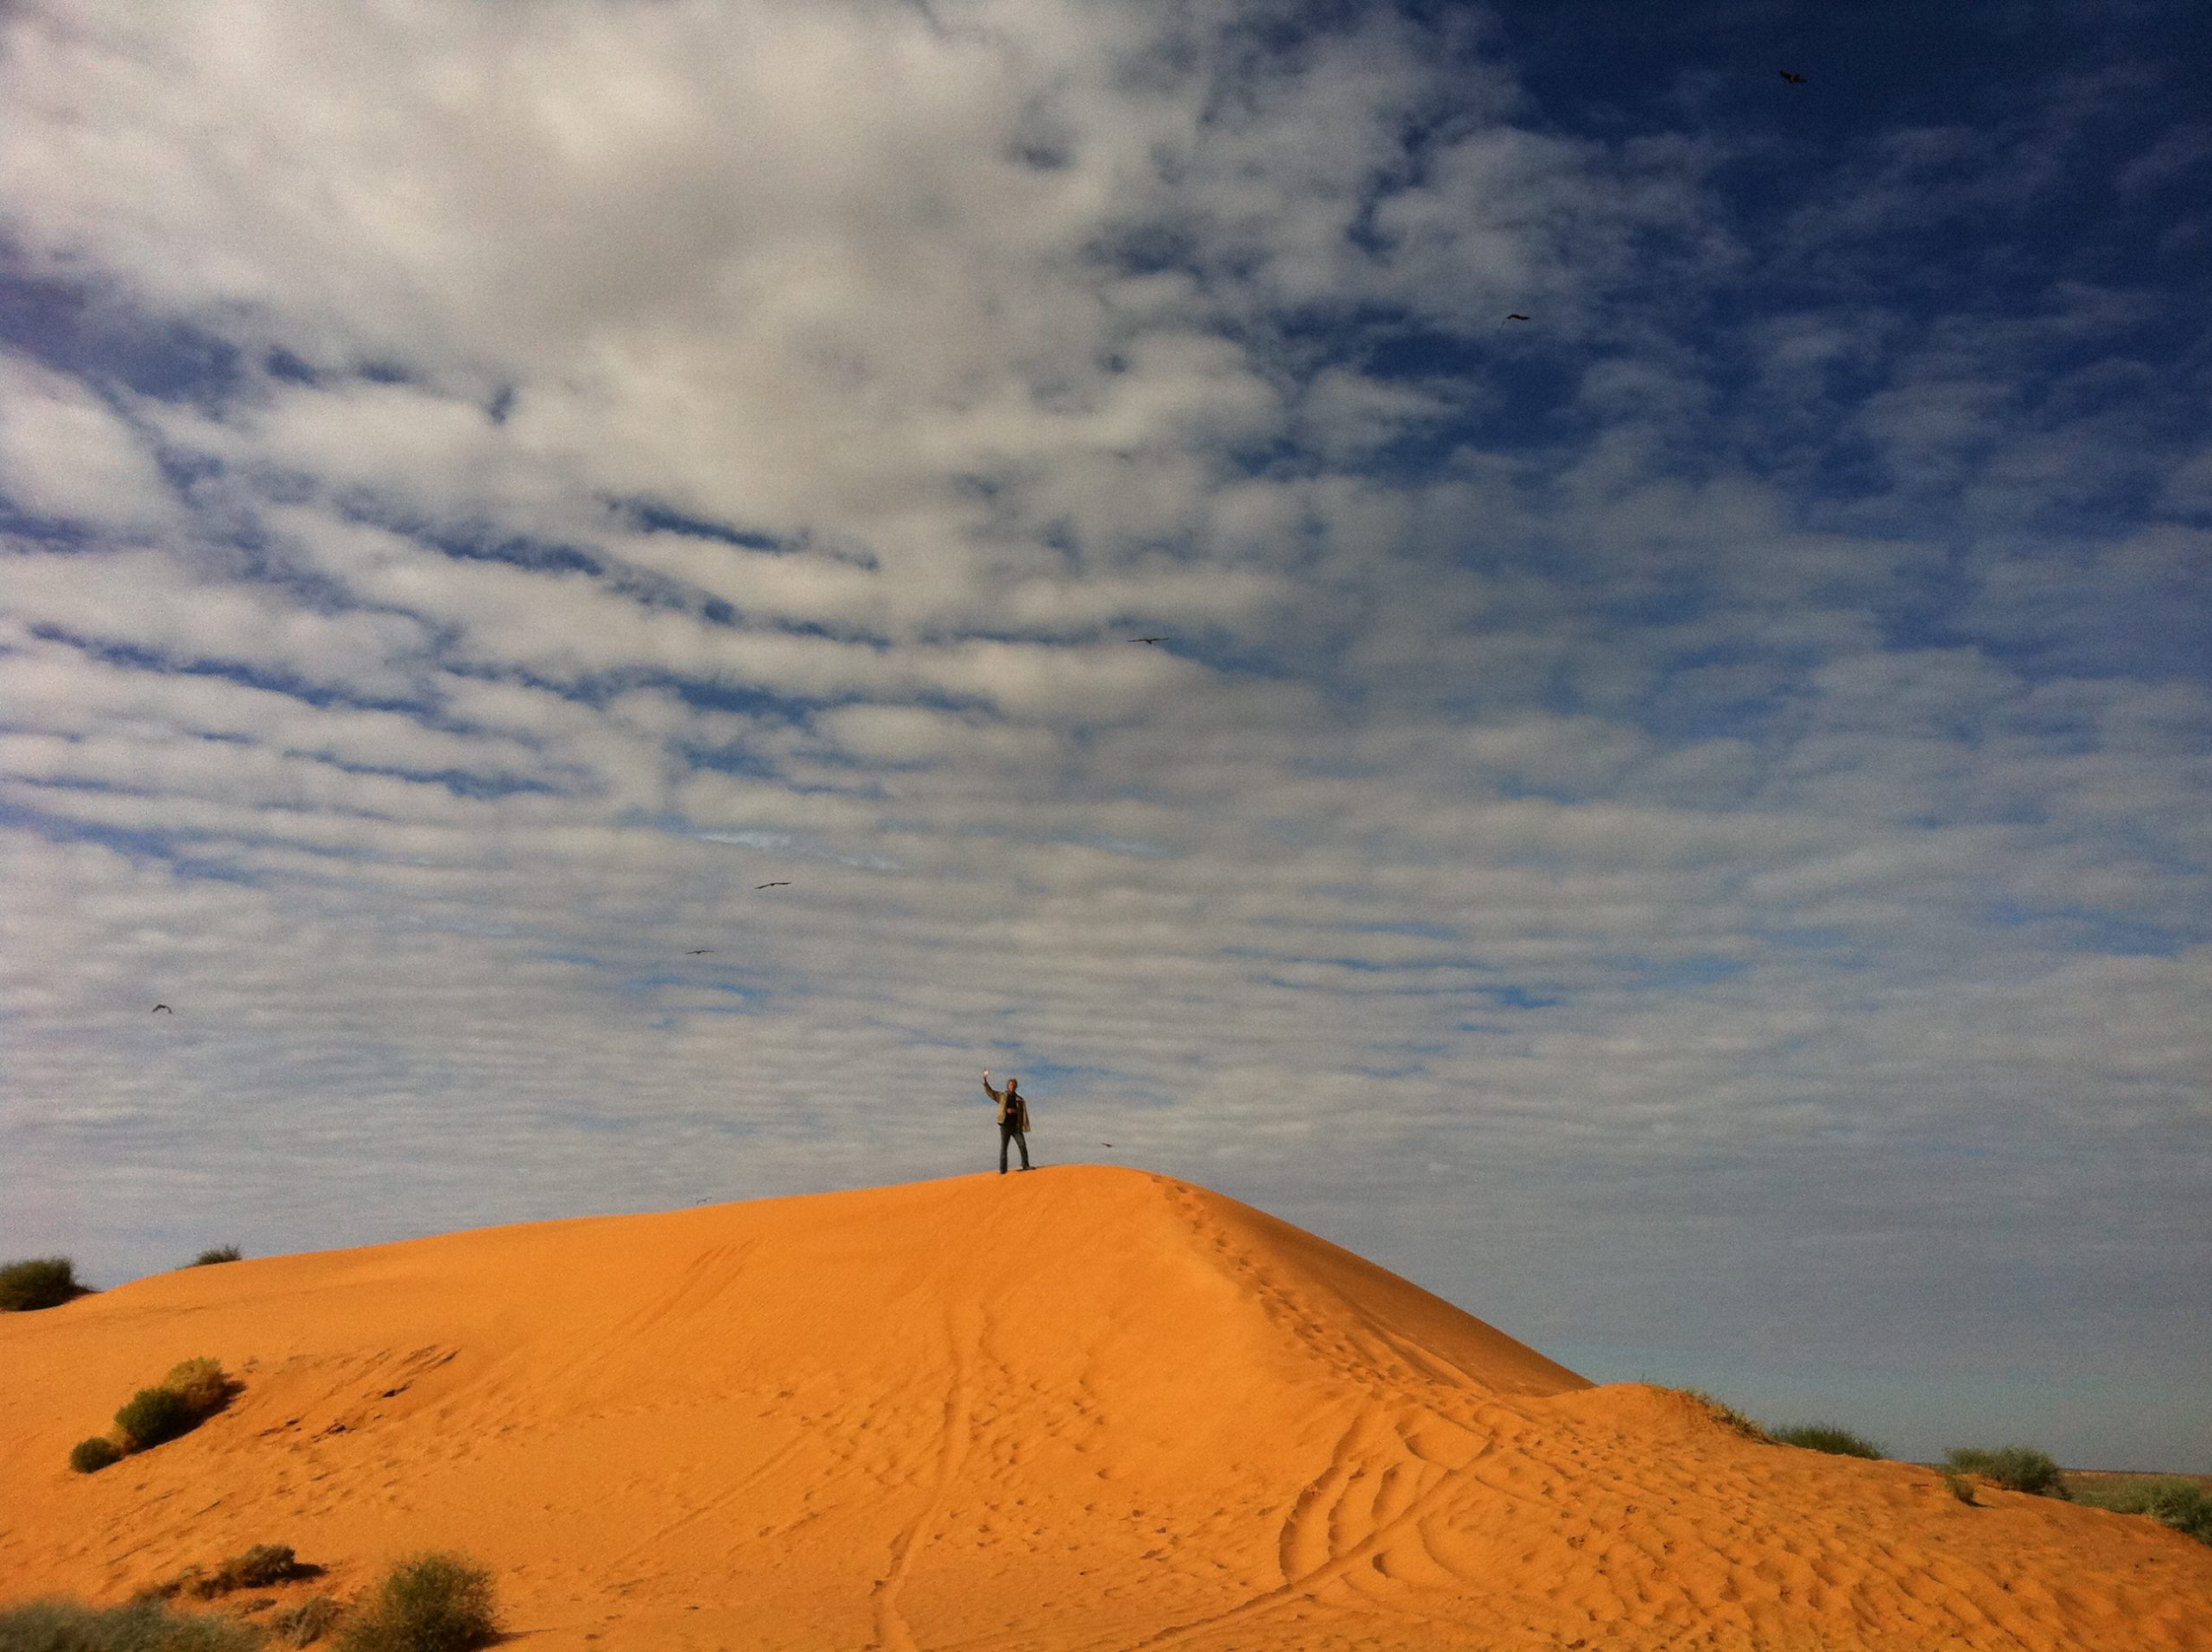
Today we enter the Simpson Desert. The dunes start small and grow as we travel. It’s a day full of incredible views and photo opportunities.
74km (B)
We explore abandoned oil wells and pass Lynnies Junction before heading south, then east along the Rig Road. We camp near the iconic Lone Gum.
82km (B)
Another day in the dunes. The scenery continues to impress as we make our way through this remote stretch.
54km (B)
We visit the Approdinna Attora Knolls before rejoining the French Line near Lake Tamblyn. The track is soft and slow going, but the views are worth it. We camp at Poeppel Corner, where three states meet.
166km (C M R)
After a short run on the K1 Line, we turn east along the QAA Line and stop for lunch at Eyre Creek. We tackle Big Red in the afternoon, then roll into Birdsville and head to the pub for a well-earned drink.
Free Day (C D R)
Spend the day exploring town and soaking up the race atmosphere. In the evening, we gather for a group dinner.
292km (B)
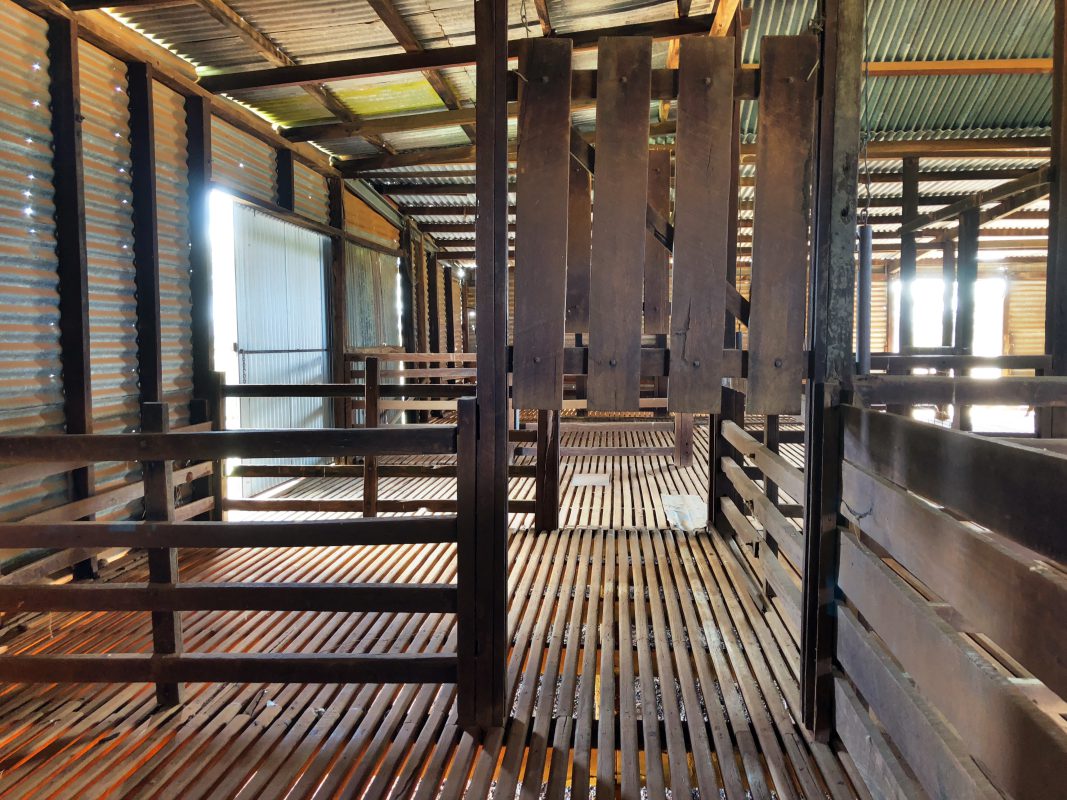
A relaxed day with no dunes. We visit Cordillo Downs, home to Australia’s largest shearing shed, then travel through the Sturt Stony Desert before camping near Arrabury.
445km (C M R)
It’s a long drive through the Strzelecki Desert to Innaminka for fuel, then on to the Burke & Wills Dig Tree for lunch. We leave the desert behind and enter Channel Country, arriving in Thargomindah on sealed roads.
369km (B)
We travel east along station roads and the Dowling Track to Hungerford, then continue via back roads to our camp beside the Balonne River.
350km (C M R)
The landscape changes as we follow the NSW–QLD border. We camp in Goondiwindi with time to explore this vibrant country town.
250km (BMR)
We continue along the border and cross the Great Divide. Winding roads and stunning scenery lead us to our final bush water camp near Drake, where stories flow around the campfire.
250km (C D R)
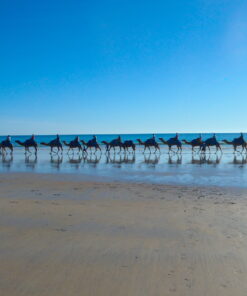
Our final day on the road doesn’t disappoint. We wind through the last stretch of off-road terrain toward the coast and arrive at Byron Bay, the easternmost point of Australia—a fitting end to an epic transcontinental journey.
That evening, we gather for a farewell dinner in town, sharing stories, laughs and a toast to the adventure of a lifetime.
Legend:
B – Bush Camp
C – Campground
D – Dinner Provided
M – Meals Available (Own expense)
R – Rooms Available (Own expense)